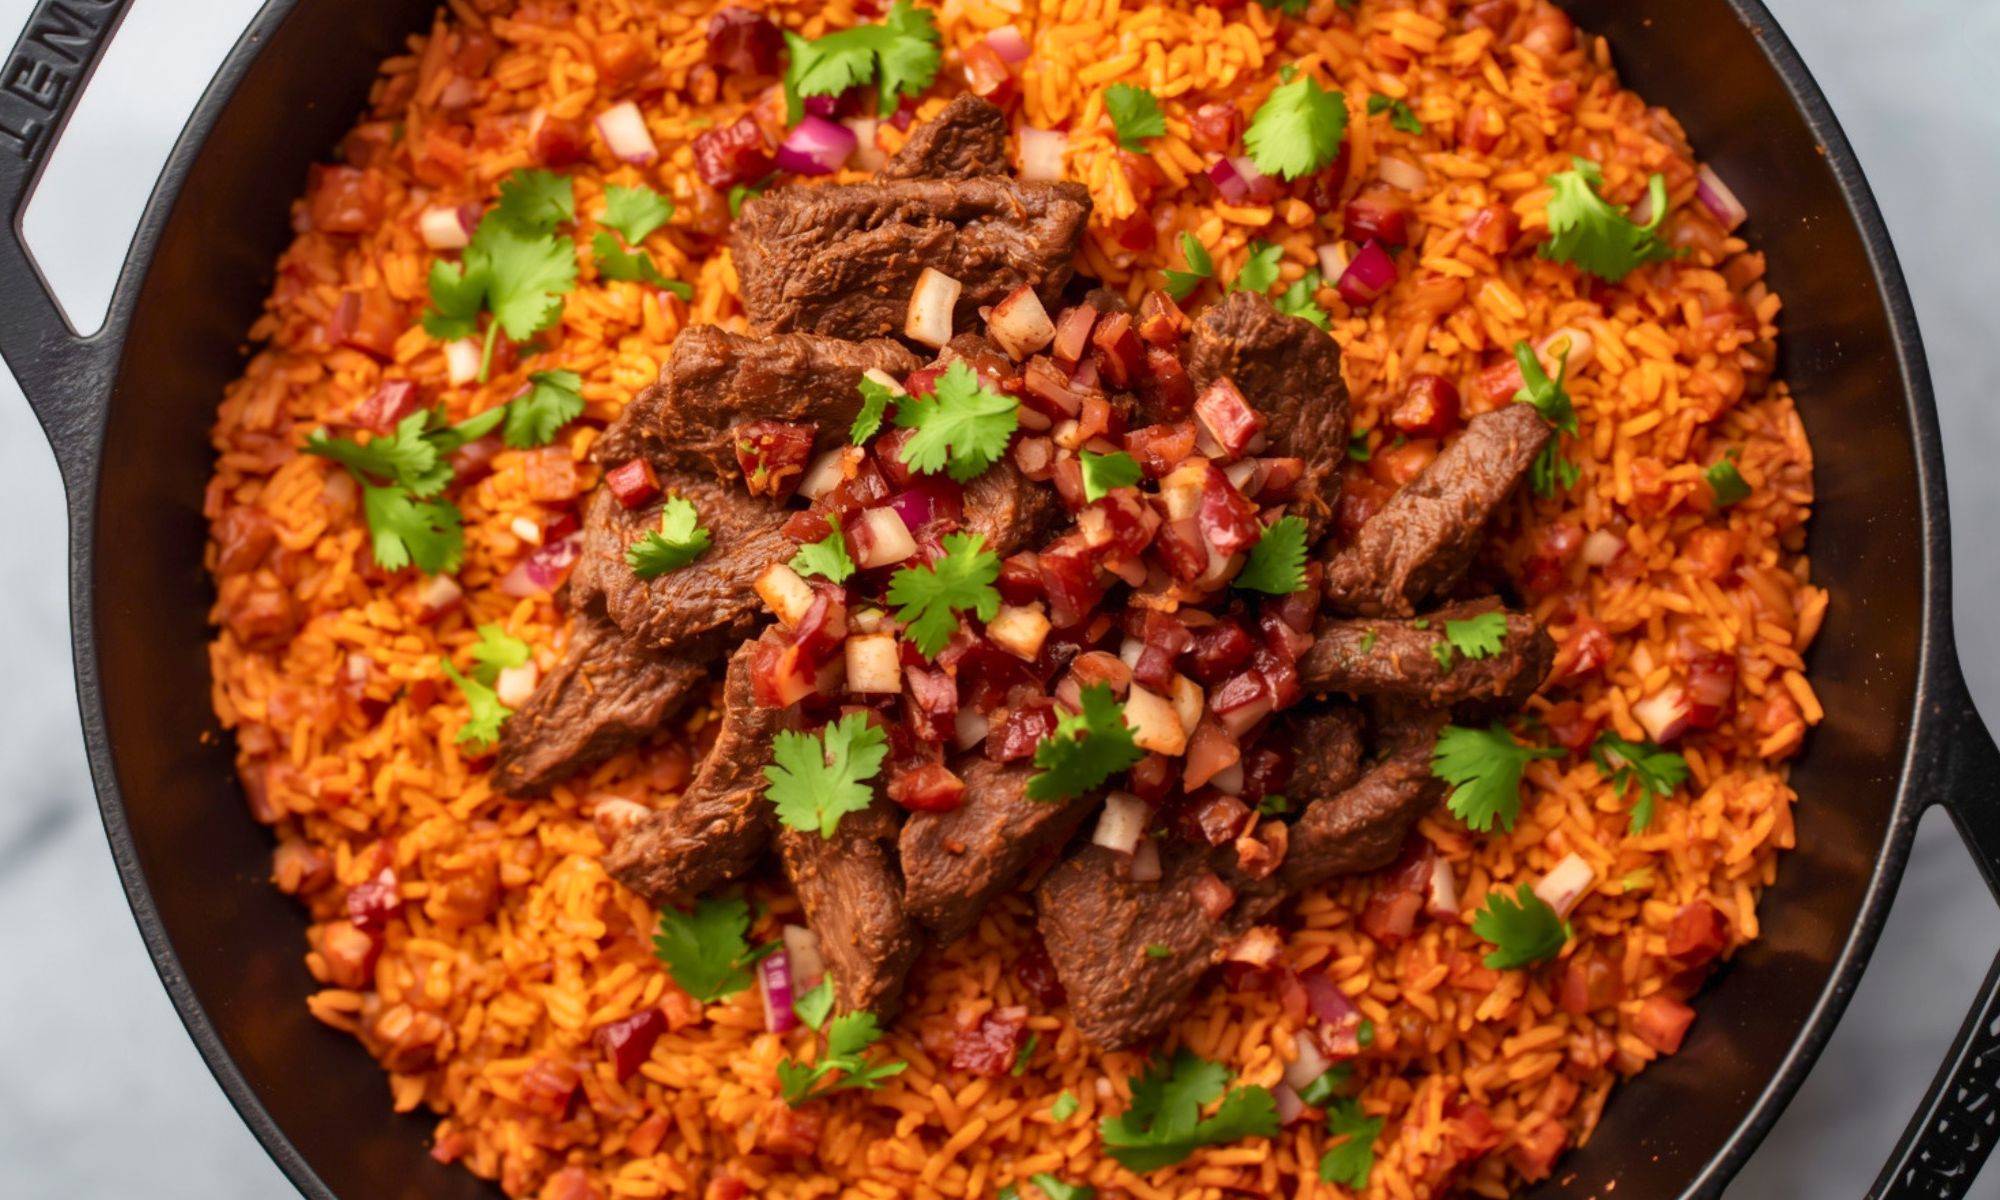
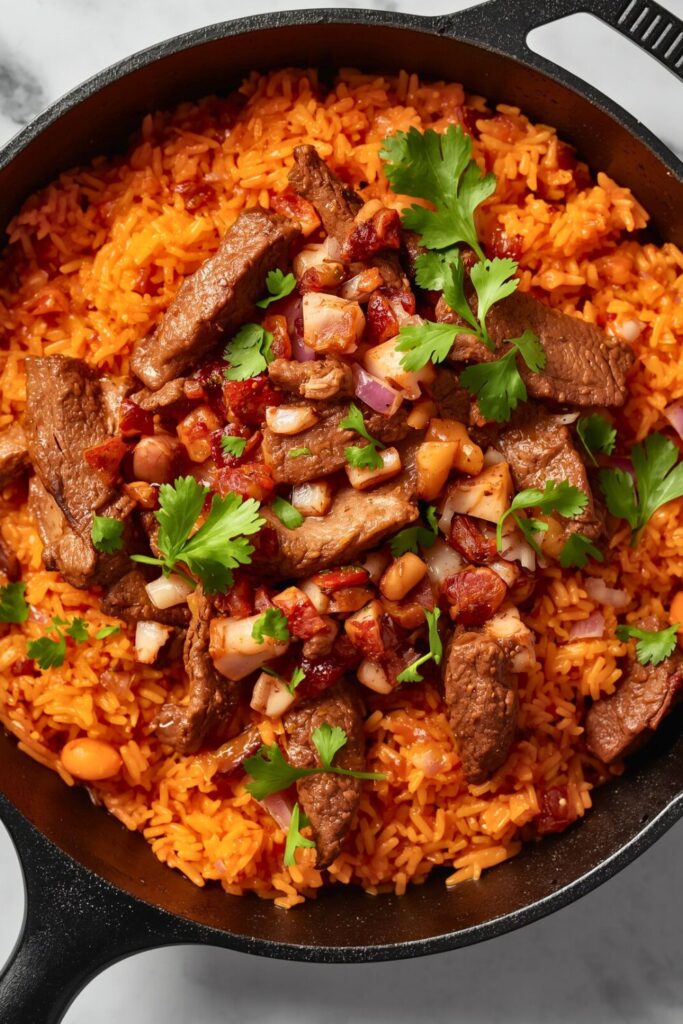
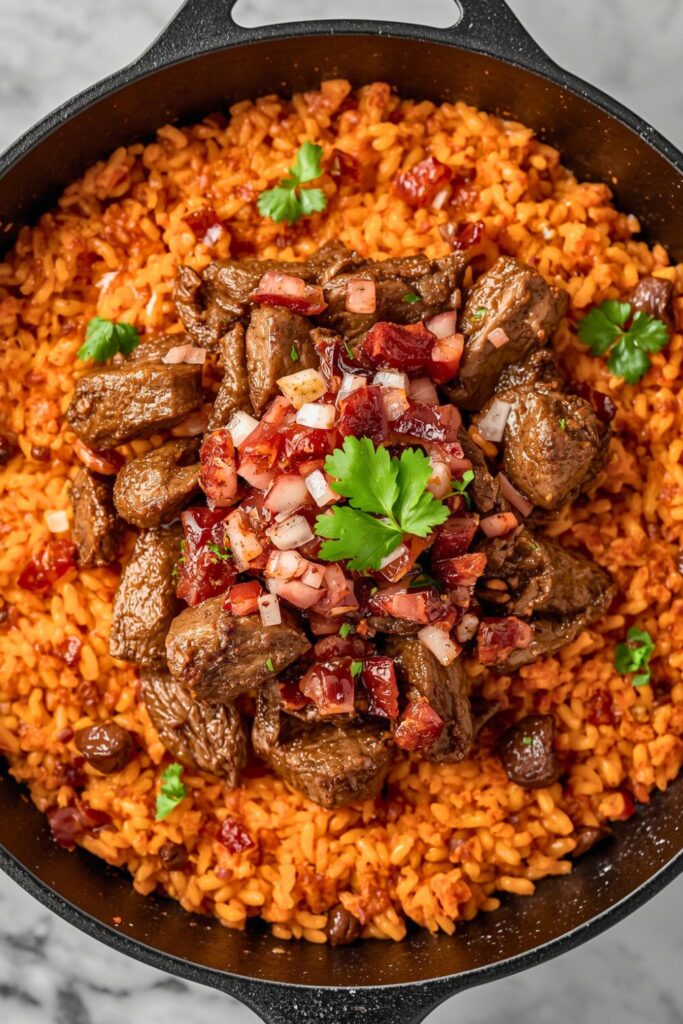
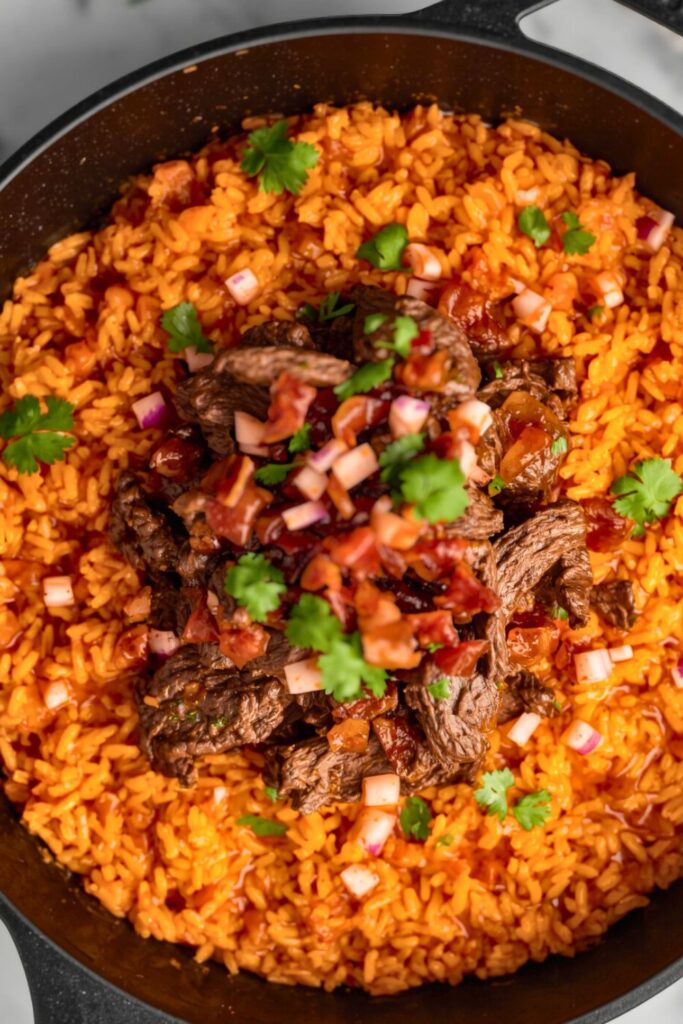
Skillet Mexican Beef and Rice is comfort food with a modern edge, bold color, layered flavor, and a one pan rhythm that suits real life. Picture sizzling beef meeting smoky cumin, chili, and paprika in the same breath, while rice soaks up tomato rich sauce until it turns sunset red. Sweet corn pops against the savory heat, black beans add heartiness, and fresh cilantro brings that final, green spark of brightness.
This isn’t the slow, all day kind of comfort food, it’s the “twenty five minutes from pan to plate” kind. Perfect for weeknights, friendly gatherings, or those evenings when flavor matters more than fuss. In the recipe ahead, I’ll show you how to build this layered skillet in simple steps, swap ingredients without losing personality, and finish with toppings that take it from casual dinner to plate worthy presentation. Once you try it, you’ll wonder why Mexican beef and rice ever needed more than one skillet..
Why This Skillet Mexican Beef and Rice Recipe Works Every Time
The magic happens in the sequence. Most people make the mistake of rushing through the steps, but patience here pays off in spades. When you properly brown that beef first, you create what chefs call the Maillard reaction, those beautiful caramelized bits that stick to the bottom of your pan aren’t mistakes, they’re flavor gold.
The rice gets toasted before any liquid hits it. This step alone transforms ordinary long grain rice into something with serious personality. It develops this nutty depth that plain steamed rice just can’t touch.
And here’s something most recipes won’t tell you: the vegetables go in at different times. Onions first because they need time to soften and sweeten. Bell peppers next because they like a little bite left in them. Garlic last because nobody wants bitter, burnt garlic ruining their dinner.
Essential Ingredients & Smart Kitchen Swaps
The Foundation Players
- 1 pound ground beef (80/20 blend works perfectly)
- 1 cup long grain white rice (jasmine or basmati are my favorites)
- 1 large yellow onion, diced
- 2 bell peppers (red and green for color), chopped
- 3 cloves garlic, minced
- 2 cups beef broth (low sodium preferred)
- 1 can (14.5 oz) diced tomatoes, drained
- 2 teaspoons chili powder
- 1 teaspoon ground cumin
- 1 teaspoon paprika
- 1/2 teaspoon oregano
- Salt and black pepper to taste
- 2 tablespoons olive oil
- 1 cup shredded Mexican cheese blend
- Fresh cilantro for garnish
Smart Swaps That Actually Work
Can’t find ground beef on sale? Ground turkey works beautifully here, though you’ll want to add an extra tablespoon of oil since it’s leaner. Ground chicken works too, but season it a bit more aggressively, it needs the help.
No beef broth? Chicken broth steps in just fine. Even vegetable broth works if you’re feeding vegetarians, though you’ll lose some of that rich, meaty depth. In a pinch, water with a couple bouillon cubes gets the job done.
Fresh bell peppers too expensive? Frozen pepper strips work, but add them later in the cooking process since they release more water. And here’s a trick your grandmother might’ve used: a can of drained Rotel tomatoes can replace both the diced tomatoes and some of the bell peppers for a spicier kick.
Living somewhere that doesn’t carry Mexican cheese blend? Sharp cheddar mixed with a little Monterey Jack does the trick. Even plain cheddar works in a pinch, though you’ll miss some of the melting magic.
Step by Step Cooking Magic
Getting Your Skillet Ready
Heat that olive oil in a large skillet over medium high heat. I’m talking about a 12-inch skillet if you’ve got one, this recipe needs room to breathe. Cast iron is absolutely perfect here because it holds heat so well, but any heavy bottomed skillet will work.
Here’s where patience pays off: let that oil get hot before you add the beef. You should see it shimmer slightly. If it’s not hot enough, Your meat will steam instead of brown, and we definitely don’t want that.
Building the Flavor Base
Add your ground beef and let it sit for about 2 minutes without touching it. I know it’s tempting to start stirring immediately, but resist. Those beautiful brown bits we’re after only happen when the meat has time to actually sear.
Break it up with your spoon and continue cooking until it’s browned all over, about 6-8 minutes total. Here’s a pro tip: if you see a lot of grease pooling, drain most of it off, leaving just enough to coat the bottom of your pan.
Now add those diced onions right to the same skillet with the beef. They’re gonna soak up all those delicious drippings and start caramelizing around the edges. Cook them for about 4 minutes until they start getting soft and translucent.
The Rice Gets Its Turn
This next step is crucial, so don’t skip it. Add your uncooked rice directly to the skillet with the beef and onions. Stir it around for about 2 minutes until the grains start looking slightly toasted and you can smell that nutty aroma developing.
Add those bell peppers and minced garlic now. The garlic only needs about 30 seconds, just long enough to become fragrant without burning. Burnt garlic is bitter and nobody wants that in their dinner.
Bringing It All Together
Sprinkle in your chili powder, cumin, paprika, and oregano. Stir everything around for about 30 seconds to wake up those spices. They should smell amazing right about now.
Pour in your beef broth and add the drained diced tomatoes. Give everything a good stir, scraping up any brown bits stuck to the bottom of the pan, that’s pure flavor right there. Season with salt and pepper to taste.
Bring the whole thing to a boil, then reduce the heat to low and cover. Here’s where the magic happens: let it simmer for 18-20 minutes without lifting that lid. The rice is absorbing all those flavors and getting perfectly tender.
The Science Behind the Perfect Skillet Mexican Beef and Rice
What’s really happening in that skillet is pretty fascinating when you think about it. When we brown the meat first, we’re not just cooking it, we’re creating hundreds of new flavor compounds through the Maillard reaction. This happens when proteins and sugars get hot enough to transform into something completely new and delicious.
Toasting the rice before adding liquid changes its structure slightly. The starches on the outside of each grain get a little bit cooked, which helps them hold their shape better during the long simmer. This is why restaurant rice always seems to have better texture than the mushy stuff we sometimes end up with at home.
The order of adding vegetables isn’t random either. Onions have natural sugars that need time to caramelize and develop sweetness. Bell peppers have a different cellular structure, they stay firmer longer, so they can go in later and still maintain some bite.
And here’s something cool about spices: toasting them briefly in oil (like we do with the chili powder and cumin) releases oils and compounds that are trapped inside. These oils are what carry flavor, so this quick toast amplifies everything significantly.
Temperature Control Secrets for Skillet Mexican Beef and Rice
Here’s what separates good cooks from great ones: understanding heat management throughout the cooking process. Your skillet temperature needs to change as you go, and most people don’t realize this.
Start hot for browning, that initial sear needs aggressive heat to develop those flavor compounds I mentioned. But once you add the rice, you want to dial it back to medium. Rice can burn easily, and burnt rice tastes bitter and ruins the whole dish.
When you add the liquid, bring it to a rolling boil quickly, then immediately drop to the lowest setting that maintains a gentle simmer. Too much heat here and your liquid evaporates faster than the rice can absorb it, leaving you with crunchy grains floating in reduced, overly salty broth.
Mastering Liquid Ratios in Your Mexican Beef and Rice
The liquid to rice ratio in this Skillet Mexican Beef and Rice isn’t the standard 2:1 you might expect. We’re using slightly less liquid because the diced tomatoes contribute moisture, and the beef releases juices as it cooks. This creates a more concentrated flavor without making the rice soggy.
If you live at high altitude, you’ll need about 1/4 cup extra liquid since water boils at a lower temperature and evaporates faster. Sea level cooks, stick with the recipe as written.
Watch for visual cues too, when properly cooked, you should see little steam holes forming on the surface, and the liquid should be almost completely absorbed. If there’s still liquid pooling after 20 minutes, give it a few more minutes with the lid on.
Making It Beautiful and Absolutely Delicious
Once that timer goes off, resist the urge to dive right in. Let the skillet sit off the heat for about 5 minutes with the lid still on. This lets any remaining liquid absorb and helps the rice finish cooking gently.
Now comes the fun part: fluff everything with a fork and sprinkle that shredded cheese over the top. Put the lid back on for just 2-3 minutes to let the cheese melt into gooey perfection.
Fresh cilantro isn’t just garnish here, it adds a bright, herbal note that cuts through all that rich, savory goodness. Chop it roughly and scatter it over the top right before serving.
Want to make this look restaurant worthy? Serve it with lime wedges on the side. That little hit of acid brightens everything up and adds a fresh contrast to the warm spices. A dollop of sour cream or some sliced avocado turns this into a complete meal that looks like you spent way more effort than you actually did.
This pairs beautifully with a simple salad dressed with lime vinaigrette, or some warm flour tortillas if you want to turn it into soft tacos. For drinks, a cold beer or a simple agua fresca complements the flavors perfectly.
Bringing It All Home
This Skillet Mexican Beef and Rice has become my go to recipe for those nights when I want something satisfying without spending hours in the kitchen. It’s comfort food that happens to be practical, family friendly, and impressive enough for company.
The beauty of this dish is in its flexibility. Once you’ve got the basic technique down, you can play with different vegetables, adjust the spice level, or even swap out proteins. But master this version first, it’s the foundation everything else builds on.
Here’s my final piece of advice: make extra. This reheats beautifully for lunch the next day, and it actually tastes even better once all those flavors have had time to meld together overnight. Just add a splash of broth when you’re reheating to keep it from drying out.
Trust me on this one, once you start making skillet meals like this, you’re gonna wonder why you ever bothered with complicated recipes that dirty every pot in your kitchen. Sometimes the best cooking happens when you keep it simple and let good ingredients do what they do best.
Frequently Asked Questions
Can I use brown rice instead of white rice?
Absolutely, but you’ll need to adjust your cooking time and liquid. Brown rice takes longer to cook, about 45 minutes instead of 20. You’ll also want to add an extra half cup of broth since brown rice absorbs more liquid. The nutty flavor of brown rice actually works really well with these Mexican flavors.
What if I don’t have a large enough skillet?
If your biggest skillet is 10 inches or smaller, I’d recommend cutting this recipe in half. Overcrowding leads to uneven cooking and steaming instead of browning. You could also transfer everything to a Dutch oven after browning the meat if you’ve got one that’s bigger than your skillet.
How do I store leftovers and how long do they keep?
This keeps beautifully in the fridge for up to 4 days in an airtight container. When reheating, add a splash of broth or water to prevent it from drying out. You can reheat it in the microwave or back in a skillet over low heat. It also freezes well for up to 3 months, though the rice texture might be slightly different after thawing.
Can I make this ahead of time?
You can prep all your vegetables ahead of time, but I wouldn’t recommend cooking the whole dish in advance since rice can get mushy when reheated. However, you can brown the meat and sauté the vegetables up to a day ahead, then add the rice and liquid when you’re ready to finish cooking.
My rice came out mushy. What went wrong?
This usually happens when there’s too much liquid or the heat was too high during simmering. Make sure you’re measuring your broth accurately, and once you cover the skillet, keep the heat low enough that you’re barely seeing bubbles around the edges. Also, resist the urge to stir during cooking, this breaks up the rice grains and releases too much starch

Swiftly Captions by Tina Smith — Quick, flavorful food recipes made simple, bringing fresh inspiration to your kitchen every day


