Picture this: you’re scrolling through your phone at 6 PM, stomach growling, staring at another night of takeout menus. Then you remember that bag of cashews tucked away in your pantry and those chicken thighs you grabbed on sale yesterday. What if I told you that in thirty minutes, you could create something that tastes like it took hours? Something that’ll make your neighbors peek over the fence wondering what smells so incredible?
That’s exactly what happened in my kitchen three years ago. I was experimenting with fusion flavors, trying to bridge the gap between my love for rich, buttery European techniques and the aromatic, nutty profiles of Asian cuisine. The result? This Garlic Butter Cashew Chicken that’s become my most requested recipe.
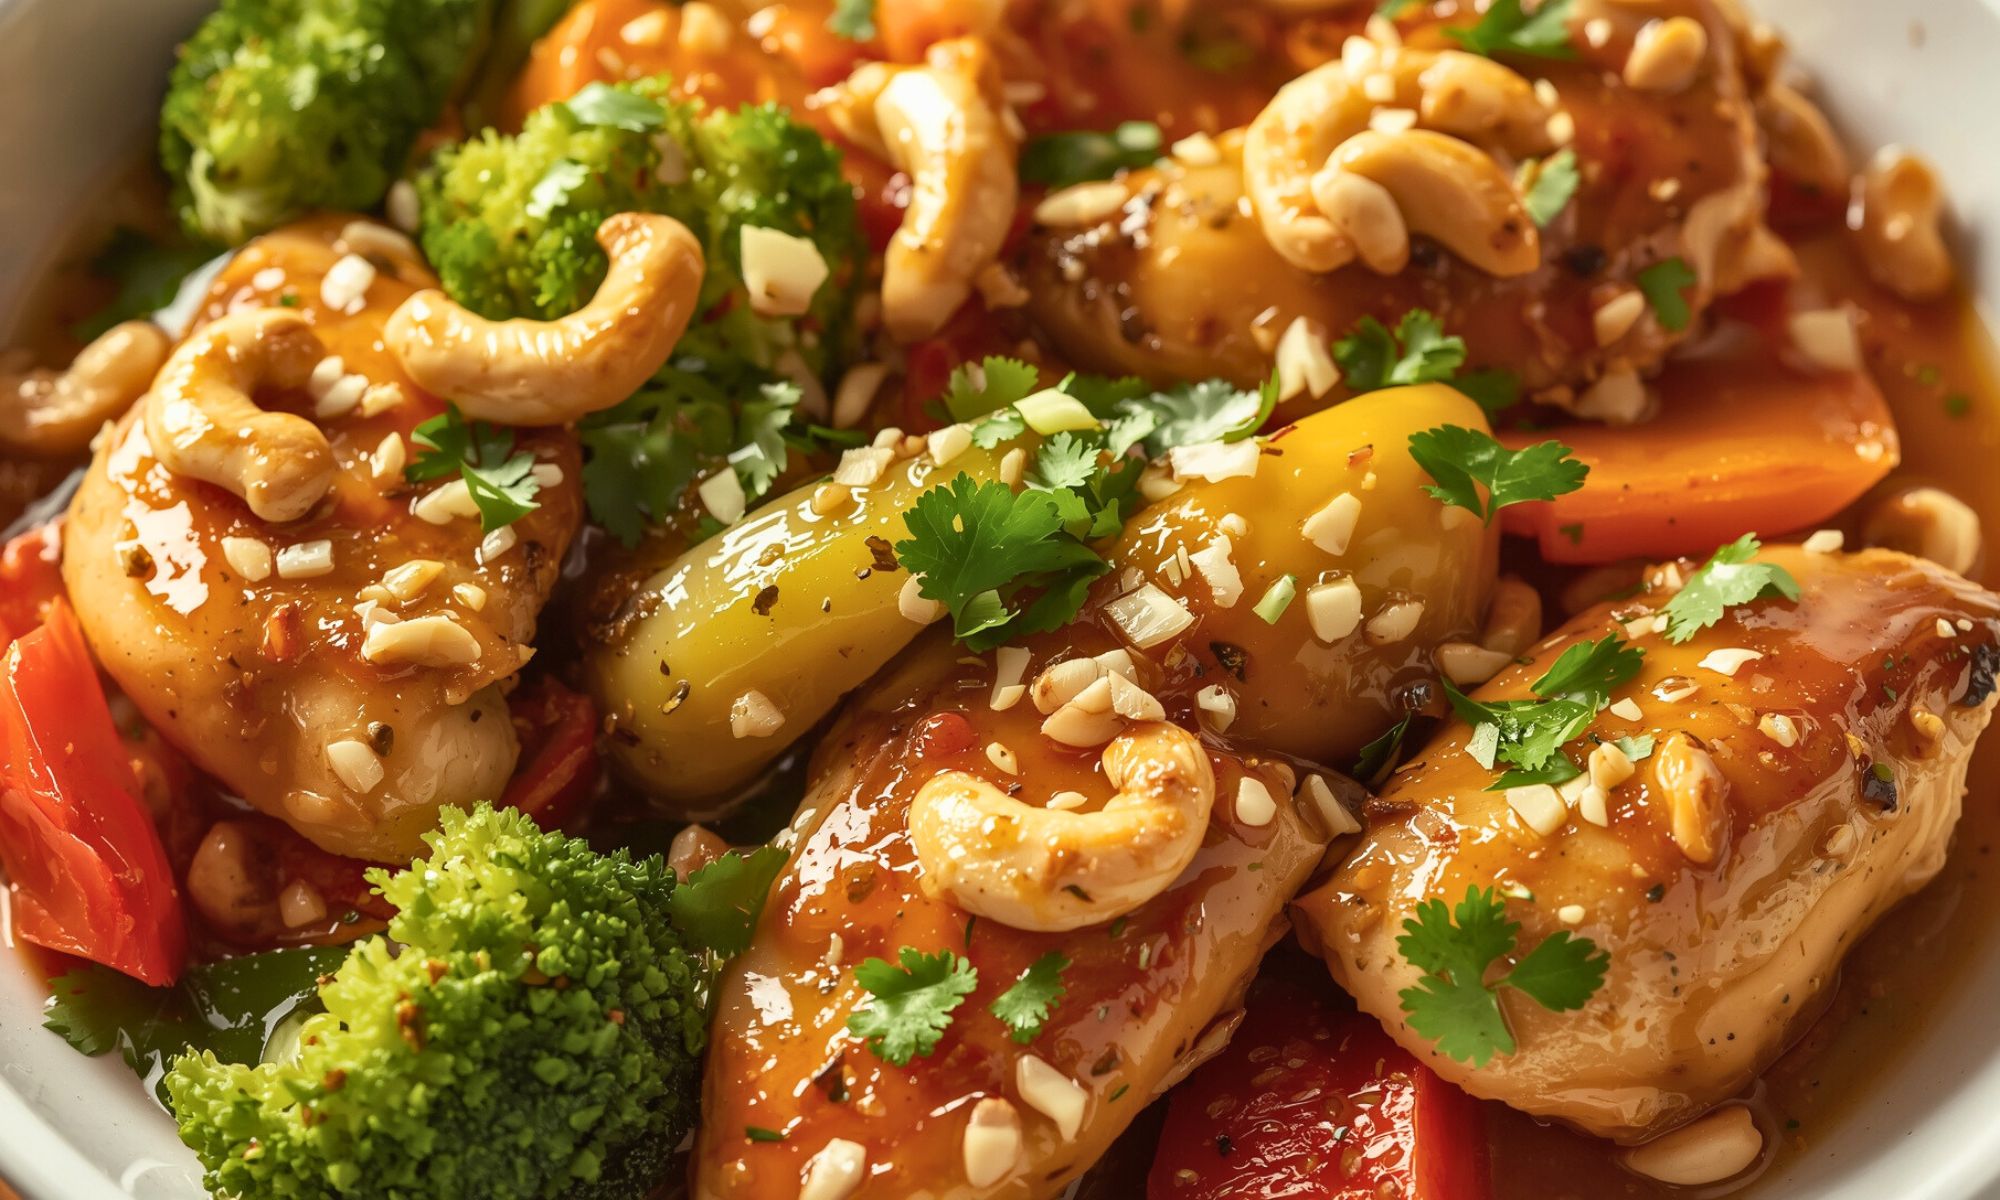
This isn’t just another chicken dish. It’s what happens when tender chicken meets the luxurious richness of roasted cashews, all swimming in a garlic infused butter sauce that’ll have you licking the pan. Trust me on this one.
What Makes This Garlic Butter Cashew Chicken Special
Here’s the thing about this recipe, it breaks every rule about complicated fusion cooking. No lengthy marinades. No hard to find ingredients. Just pure, concentrated flavor that builds layer by layer in one pan.
The magic starts with browning the chicken to create those caramelized bits that’ll become the foundation of our sauce. Then we’re toasting cashews until they’re golden and fragrant, releasing oils that’ll perfume the entire dish. Finally, we’re building a garlic butter base that ties everything together without being heavy or greasy.
What really sets this apart is the technique of finishing the cashews in the pan with the chicken. Most recipes treat nuts as an afterthought, a garnish sprinkled on top. Not here. These cashews become part of the sauce itself, breaking down slightly to thicken it while keeping enough texture to provide that satisfying crunch.
The Ingredients That Make Magic Happen
Here’s what you’re gonna need, listed in the order you’ll actually use them:
For the Chicken:
- 2 lbs boneless, skinless chicken thighs (trust me, skip the breasts this time)
- 1 teaspoon salt
- ½ teaspoon black pepper
- 2 tablespoons vegetable oil
For the Cashew Butter Sauce:
- 1 cup raw cashews (roasted ones work too, but raw gives better control)
- 4 tablespoons butter, divided
- 6 cloves garlic, minced (don’t even think about using jarred)
- 1 medium onion, diced
- ½ cup chicken stock
- 2 tablespoons soy sauce
- 1 tablespoon honey
- 1 teaspoon fresh ginger, grated
- ¼ teaspoon red pepper flakes
- 2 green onions, sliced
- Fresh cilantro for serving
Smart Swaps for Every Kitchen
Can’t find chicken thighs? Okay, fine, use breasts, but cut your cooking time in half and watch them like a hawk. They’ll go from perfect to cardboard in about thirty seconds.
No cashews? Almonds work beautifully, though you’ll get a sharper flavor profile. Peanuts are another solid choice if you don’t mind the dish leaning more Thai. Just avoid anything salted.
For my gluten free friends, swap that soy sauce for tamari or coconut aminos. The flavor shifts slightly sweeter, but it’s still absolutely delicious.
Vegetarian? Replace the chicken with thick slices of cauliflower steaks or extra firm tofu. Press that tofu well and give it a good browning, you want those caramelized edges.
Here’s a pro tip about choosing cashews: if you can find them, go for the pieces instead of whole nuts. They’re usually cheaper and they’ll break down faster in the sauce, creating that creamy texture we’re after.
Step by Step Magic: Building Flavor Layer by Layer
Step 1: The Foundation, Perfect Chicken Every Time
Start by patting your chicken thighs completely dry. I mean bone dry. Any moisture left on the surface is gonna prevent proper browning, and that browning is where our flavor lives.
Season generously with salt and pepper. Don’t be shy, this is your only chance to season the meat itself.
Heat that oil in your largest skillet over medium high heat. You’ll know it’s ready when a drop of water sizzles and evaporates immediately. Lay those thighs in skin side down (or presentation side down if using boneless) and don’t touch them. Don’t poke, don’t peek, don’t even breathe on them wrong. Let them do their thing for about 5-6 minutes.
You’ll hear the sizzling calm down a bit when they’re ready to flip. The surface should release easily from the pan, if it’s sticking, it’s not ready. Flip and cook another 4-5 minutes until the internal temperature hits 165°F.
Step 2: Toasting Cashews, The Game Changer
Remove the chicken to a plate and lower your heat to medium. Add those cashews right to the same pan with all those beautiful browned bits. This is where the magic starts happening.
Toast them for about 3-4 minutes, stirring constantly. You want them golden brown and smelling like heaven. The oils they release will mix with those chicken drippings, creating flavor compounds that you literally cannot buy in a bottle.
Here’s where most people mess up, they stop stirring. These cashews go from perfect to burnt in about fifteen seconds, so keep them moving.
Step 3: Building the Sauce Base
Push those toasted cashews to one side of the pan and add two tablespoons of butter to the empty space. Let it melt and foam, then add your minced garlic and diced onion right into that buttery goodness.
Cook for about 2 minutes until the onion starts to soften and the garlic becomes fragrant. Don’t let the garlic brown, bitter garlic ruins everything.
Now add that grated ginger and red pepper flakes. Thirty seconds is all you need here. Any longer and the ginger gets harsh.
Step 4: The Liquid Gold
Pour in your chicken stock, soy sauce, and honey. Bring it to a gentle simmer and let it bubble for about 3 minutes. You’re not trying to reduce it dramatically, just let the flavors meld together.
Here’s a technique I learned from a chef in Singapore: crush about a quarter of your cashews right in the pan with the back of a spoon. This creates that creamy texture while leaving plenty of whole nuts for crunch.
Nestle your chicken back into the pan, spooning some of the sauce over the top. Let everything simmer together for another 5 minutes. This is when the chicken absorbs those gorgeous flavors and the sauce reaches perfect consistency.
Step 5: The Finishing Touch
Remove from heat and stir in the remaining two tablespoons of butter. This creates what the French call “mounting.” finishing a sauce with cold butter to make it glossy and rich without being heavy.
Taste and adjust. Need more salt? Add it now. Want more heat? Another pinch of red pepper flakes. Too rich? A squeeze of lime juice brightens everything up.
The Science Behind Your Success
The real secret to this dish isn’t just the ingredients, it’s understanding what’s happening in that pan. When you brown the chicken, you’re creating what food scientists call the Maillard reaction. Those golden brown bits aren’t just for show; they’re concentrated umami flavor that becomes the foundation of our sauce.
Toasting the cashews does something similar. The heat transforms the natural sugars in the nuts, creating new flavor compounds that taste nutty and slightly caramelized. When these nuts hit the buttery sauce, they release oils that act as natural emulsifiers, helping create that silky texture without cream or flour.
The honey serves double duty here. Obviously, it adds sweetness, but it also contains enzymes that help break down proteins, making the chicken more tender. Plus, honey caramelizes at a lower temperature than sugar, adding another layer of that deep, complex flavor we’re building.
That final addition of cold butter? It’s creating what chefs call a beurre monté, an emulsification that gives the sauce body and shine. The trick is adding it off the heat so it doesn’t break and become greasy.
Choosing Your Tools Wisely
The right pan makes all the difference here. You want something with good heat retention, cast iron or heavy stainless steel. Nonstick works, but you won’t get the same browning on the chicken, and those browned bits are flavor gold.
A wooden spoon is your best friend for crushing those cashews. Metal spoons can scratch your pan and don’t give you the same control.
For checking doneness, invest in an instant read thermometer. Chicken thighs can handle a bit of overcooking better than breasts, but there’s still a sweet spot where they’re juicy and tender.
Making It Beautiful and Delicious
This dish is naturally gorgeous, but a few simple touches take it from weeknight dinner to dinner party worthy.
Serve it over jasmine rice or coconut rice to soak up every drop of that sauce. The nutty flavors pair beautifully with the floral notes in jasmine rice.
For color contrast, try steamed broccolini or snow peas on the side. The bright green creates visual interest, and the slight bitterness balances the rich sauce perfectly.
A simple cucumber salad with rice vinegar and sesame oil cuts through the richness beautifully. Think of it as a palate cleanser between bites.
Wine pairing? Go with something that won’t compete with all these bold flavors. A crisp Riesling or Gewürztraminer works beautifully. If you prefer reds, try a light Pinot Noir served slightly chilled.
For photos (because let’s be honest, you’re gonna want to share this), garnish with those sliced green onions and fresh cilantro leaves. The bright colors pop against the golden sauce, and the fresh herbs add a final aromatic note.
Bringing It All Together
This Garlic Butter Cashew Chicken represents fusion cooking done right. It takes the best techniques from different culinary traditions and combines them naturally, not forced.
The beauty isn’t just in the final dish, it’s in how approachable it is. No special equipment needed. No unpronounceable ingredients. Just honest cooking building flavor through technique and timing.
Once you’ve mastered the basic version, variations are endless. Try different nuts, pistachios give it Middle Eastern flair, while pecans make it feel Southern. Swap chicken for salmon or shrimp for lighter takes.
Success here means understanding each step builds on the last. Don’t rush browning. Don’t skip toasting cashews. Don’t forget final butter addition. Each element contributes to the final harmony.
Remember, cooking isn’t just following instructions, it’s understanding why they work. When you know the science behind technique, you adapt and improvise with confidence.
So next time you’re staring at that empty fridge wondering what to make, remember this Garlic Butter Cashew Chicken. In thirty minutes, you can have something tasting like it took all day. Something making your kitchen smell like the best restaurant in town.
Frequently Asked Questions
Can I make this Garlic Butter Cashew Chicken ahead of time?
Absolutely, though like most saucy dishes, it’s best served fresh. You can brown the chicken and toast the cashews up to a day ahead, then just build the sauce and finish the dish when you’re ready to eat. If you do make the whole thing in advance, reheat gently and you might need to add a splash of stock to loosen the sauce, it thickens as it sits.
What if my sauce breaks or looks greasy?
Don’t panic! This usually happens when the butter gets too hot or the sauce boils too hard. Remove it from heat immediately and whisk in a tablespoon of cold stock or water. If that doesn’t work, strain the sauce and start the butter addition over with the heat off. The cashews will help re emulsify everything.
Can I use chicken breasts instead of thighs?
You can, but you’ll need to adjust your technique. Breasts cook faster and dry out easier, so reduce the cooking time and consider pounding them to even thickness first. Thighs are more forgiving and have better flavor, but breasts work if that’s what you’ve got.
How do I store leftovers and for how long?
Store covered in the refrigerator for up to three days. The sauce will thicken up quite a bit, so when reheating, add a splash of stock or water and heat gently. Don’t microwave if you can help it gentle stovet op reheating preserves the texture much better.
What’s the best way to crush the cashews in the pan?
Use the back of a wooden spoon and gentle pressure. You don’t want to pulverize them completely aim to ,break about a quarter of them into smaller pieces while leaving the rest mostly whole. This gives you the best of both worlds: creamy sauce from the broken pieces and textural contrast from the whole nuts.

Swiftly Captions by Tina Smith — Quick, flavorful food recipes made simple, bringing fresh inspiration to your kitchen every day


