It starts with a craving, ends with clean plates, and somewhere in the middle, magic happens in your kitchen.
You’ve had that kind of day. The clock drags, dinner creeps up, and inspiration is nowhere in sight. You open the fridge again, still just a pack of Baked Chicken Tenderloins and a few tired leftovers. The kids are restless. You’re running on fumes. Takeout sounds easy, but it won’t hit the spot. You’re craving something warm. Familiar. Real. Something that tastes like home.
That’s where I was no plan, no pristine prep, just a craving and a half stocked pantry. The oven was already warming, and I grabbed what I had: softening butter, a jar of garlic, and a memory of how comfort food is supposed to feel. Not a gourmet moment. Just a quiet fix that somehow became a favorite.
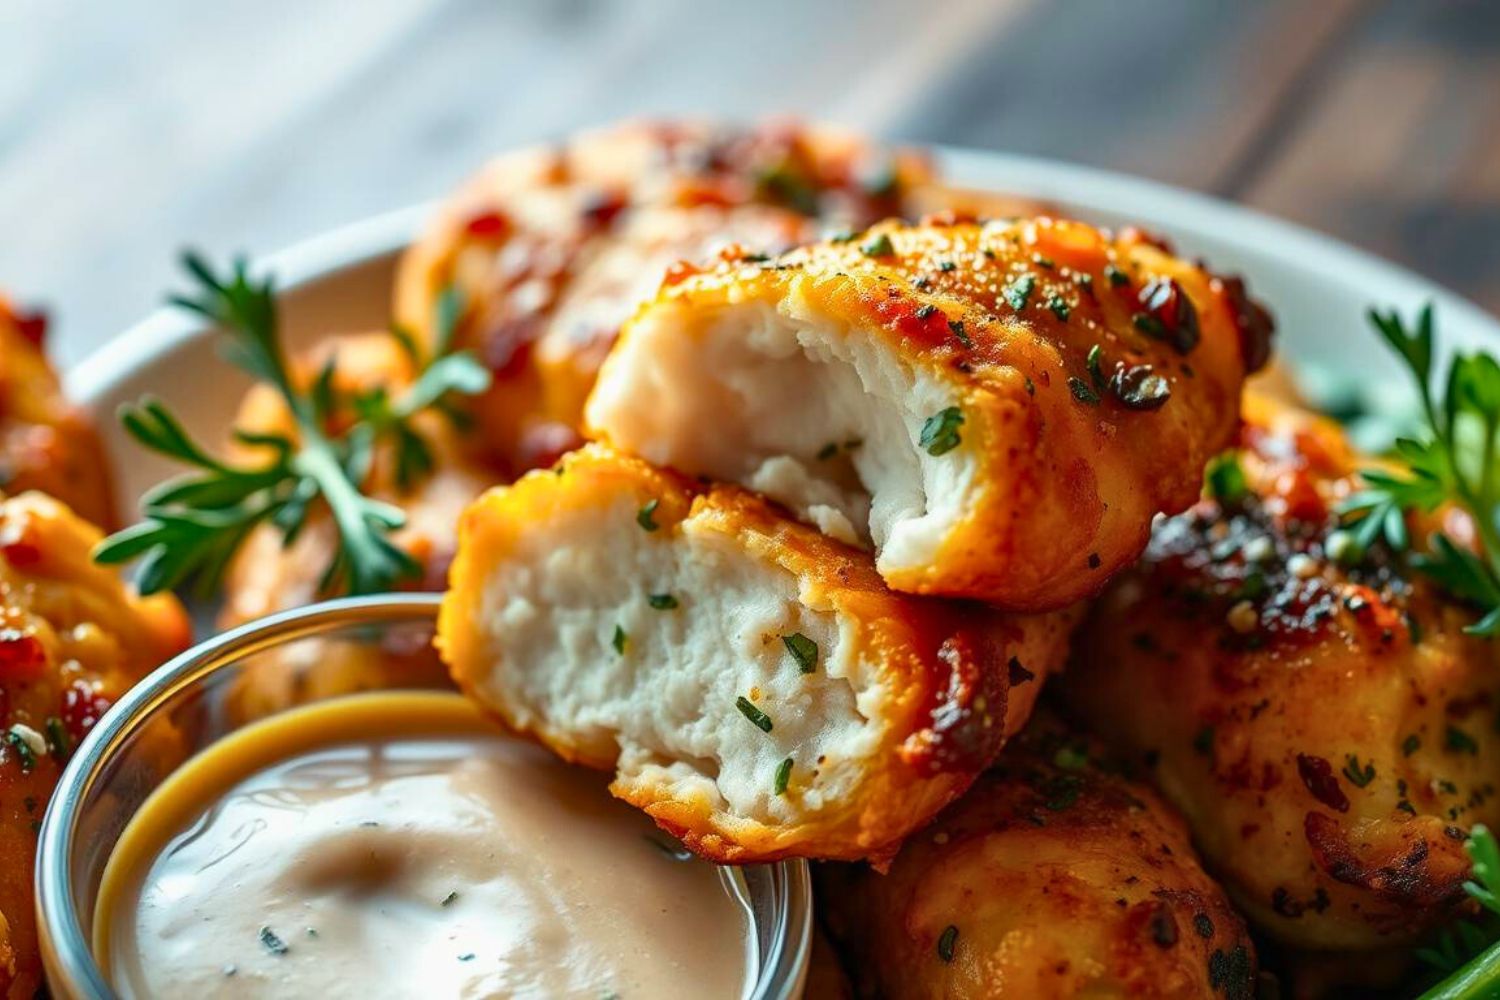
The butter sizzled, garlic bloomed, and with a quick toss of paprika, parmesan, and herbs, the tenderloins transformed. Crisp edges, juicy centers, and that golden, toasty aroma that pulls everyone into the kitchen. It’s the kind of meal that feels like a reset simple, fast, and soul satisfying.
This is the recipe I reach for when dinner needs to deliver without drama. These baked chicken tenderloins come together in under 30 minutes, work with pantry staples, and satisfy even the pickiest eaters. Keep reading and I’ll walk you through every step flavor tips, baking tricks, and easy pairings that make this dish a keeper.
Trust me, once you try these baked chicken tenderloins, you’ll come back to them again and again.
Why Baked Chicken Tenderloins Deserve Your Attention
Let’s explore why these little guys deserve your attention. Baked chicken tenderloins are literally the most tender chicken part, that strip running along the breast’s underside. They start naturally juicy, giving you a serious advantage.
Unlike chicken breasts that turn cardboard like when overcooked, tenderloins forgive mistakes. They cook evenly because of their uniform size and thickness. Here’s what most people miss: they pack more flavor than regular breast meat because they contain slightly more fat.
Proper baking creates the real magic. We’re talking crispy edges, juicy centers, and perfect golden brown color that makes everything look restaurant worthy.
The Foundation: Choosing Perfect Chicken Tenderloins
At the grocery store, you face choices. Fresh or frozen? Organic or conventional? Here’s what actually matters when picking your tenderloins.
Fresh wins for texture and flavor every time. But frozen works fine just thaw them completely first. Ice crystals ruin your seasoning and mess with baked chicken tenderloins.
Choose tenderloins that are pale pink with no gray spots. They should feel firm, not squishy. Here’s a pro tip from my butcher friend if they smell like anything besides fresh chicken, keep looking.
Ingredients That Make Magic Happen
Here’s what you’ll need, in the order you’ll actually use them:
For the basic version:
- 2 pounds chicken tenderloins
- 3 tablespoons olive oil
- 2 teaspoons garlic powder
- 1 teaspoon onion powder
- 1 teaspoon paprika
- 1 teaspoon dried thyme
- 1 teaspoon salt
- 1/2 teaspoon black pepper
- 1/2 teaspoon dried rosemary
For the coating:
- 1 cup panko breadcrumbs
- 1/2 cup grated Parmesan cheese
- 2 tablespoons fresh parsley, chopped
Smart Swaps That Save the Day
Can’t find panko? Regular breadcrumbs work fine, but toast them first in a dry skillet for two minutes. Trust me this makes all the difference.
No Parmesan? Try sharp cheddar or nutritional yeast for dairy free options. You want that nutty, salty flavor that adds complexity to everything.
Fresh herbs beat dried every time, but dried herbs work when you use half the amount. Here’s something I learned hard way dried herbs need time to bloom, so let seasoned chicken sit fifteen minutes before baking.
The Step by Step Magic for Perfect Baked Chicken Tenderloins

Preheat your oven to 425°F. This temperature hits the sweet spot hot enough for crispy edges, gentle enough for juicy insides.
Step 1: The Prep Work Pat those tenderloins completely dry with paper towels. Moisture fights against browning, and you want beautiful golden color. Remove the little white tendon if it’s attached grab it with paper towel and pull it off.
Step 2: The Seasoning Ritual Drizzle olive oil over tenderloins in a large bowl. Use your hands to coat everything evenly, get messy without shame. This oil helps seasonings stick and creates gorgeous crust.
Mix all dry seasonings in a small bowl first. This ensures even distribution and prevents clumps. Sprinkle this mixture over oiled chicken and toss until every piece gets coated.
Step 3: The Coating Process In another bowl, mix panko, Parmesan, and parsley. Press each tenderloin into this mixture, coating both sides. Pressure is key here really press that coating so it sticks properly.
Step 4: The Baking Magic Line a baking sheet with parchment paper and arrange coated tenderloins in single layer. Don’t overcrowd them they need space to crisp properly. Making a big batch? Use two pans.
Bake for 15-18 minutes, flipping once halfway through. You’ll know they’re done when they hit 165°F internally and coating turns golden brown.
The Science Behind the Sizzle
Here’s what happens in your oven that makes baked chicken tenderloins incredible. When you hit 425°F, the Maillard reaction kicks in that browning process creates complex flavors and aromas.
Oil conducts heat evenly across the surface, while panko creates tiny air pockets that crisp beautifully. Parmesan cheese contains natural glutamates, which explains why it makes everything taste richer.
That halfway flip isn’t just for even browning. It prevents soggy bottoms by letting moisture escape from both sides. Professional chefs call this “developing the crust,” and it separates good from extraordinary.
Temperature control decides everything here. Too low gives you pale, steamed chicken. Too high burns the outside before the inside cooks through. 425°F hits that Goldilocks zone where everything comes together perfectly.
Making It Beautiful and Delicious
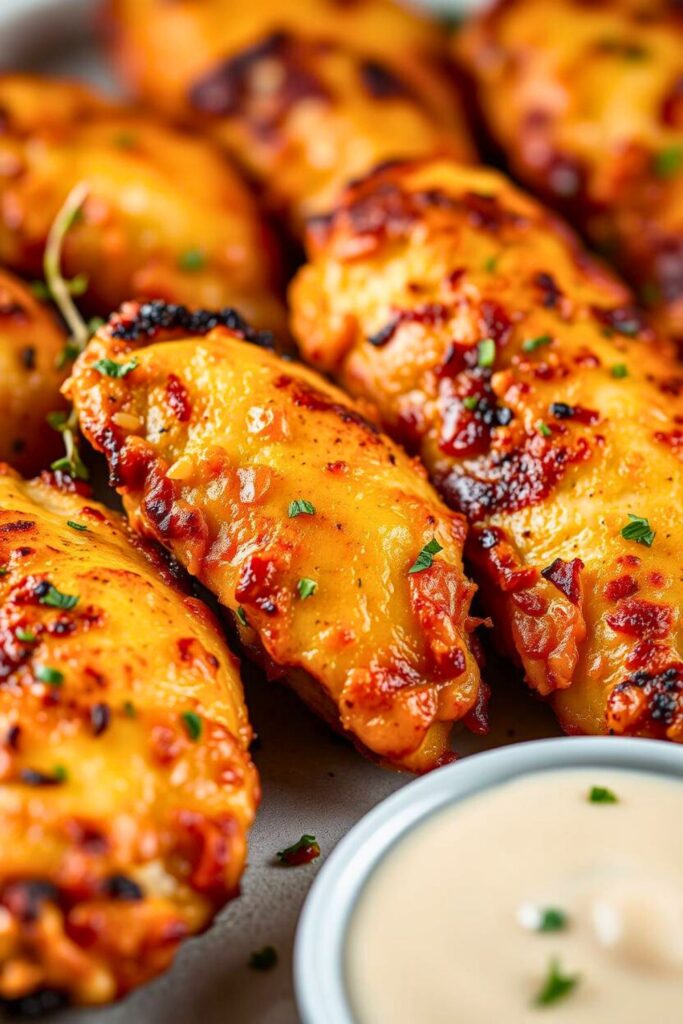
Presentation doesn’t need complexity. Arrange your baked chicken tenderloins on white platters with fresh herb sprinkles. The contrast makes golden coating pop.
For sides, think textures and colors. Roasted vegetables add earthy sweetness Brussels sprouts, carrots, or green beans work beautifully. Simple salad with lemon vinaigrette cuts through richness.
Wine wise, crisp Sauvignon Blanc or light Pinot Noir pairs perfectly. The acidity complements savory coating without overwhelming delicate chicken flavor.
Creative Variations That Keep Things Interesting
Once you master the basic technique, possibilities open up. Try Mediterranean versions with oregano, lemon zest, and feta cheese coating. Or go Mexican with chili powder, cumin, and crushed tortilla chips.
For healthier twists, skip breadcrumbs and use crushed nuts almonds, pecans, or walnuts create interesting textures and flavors. Just chop them fine and season well.
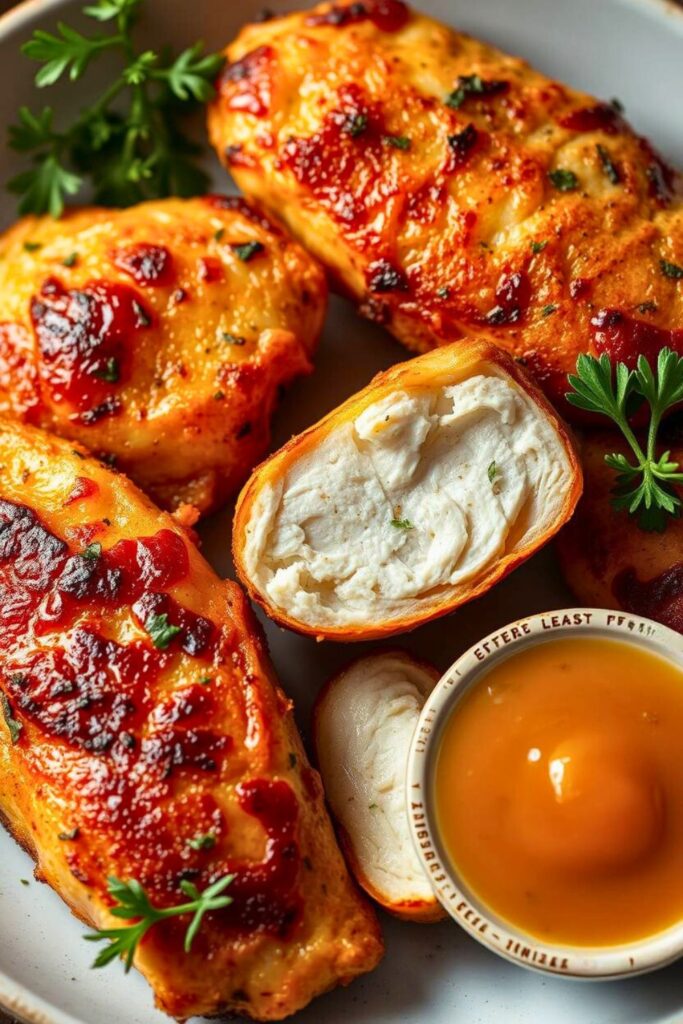
Feeling fancy? Stuff each tenderloin with small cream cheese pieces mixed with herbs before coating. It’s like built in sauce that stays perfectly contained.
Troubleshooting Your Baked Chicken Tenderloins
Even great cooks face issues sometimes. If coating won’t stick, you probably used too little oil initially. Chicken should feel slightly slick before you add seasonings.
Dry chicken usually means overcooking or starting with improperly thawed frozen meat. Use a meat thermometer, it’s the only way to hit perfect 165°F without going over.
If coating browns too fast, tent with foil for the last cooking minutes. This prevents burning while chicken finishes cooking through.
Storage and Reheating Wisdom
Leftover baked chicken tenderloins keep beautifully in fridges for four days. To reheat without losing crispy coating, use 350°F oven for 8-10 minutes rather than microwaves.
You can freeze them after baking too. Wrap individually in plastic wrap, then store in freezer bags for three months. Thaw overnight in fridge before reheating.
For meal prep, these are absolute gold. Cook big batches on Sunday, and you’ve got protein sorted for the week. They’re perfect in salads, wraps, or eaten straight with favorite dipping sauces.
The Final Word on Baked Chicken Tenderloins
Here’s what I want you to remember: baked chicken tenderloins aren’t just convenient, they’re genuinely delicious when you treat them right. Proper seasoning, right temperature, and good coating technique transform simple ingredients into something special.
Don’t fear experimenting once you’ve got basics down. Cooking builds confidence, and this recipe is perfect for that. Every time you make it, you’ll learn something new about timing, seasoning, or technique.
This dish’s beauty lies in its versatility. It works for busy weeknights when you need something fast, but it’s elegant enough for company. Master this recipe, and you’ll always have an answer to “what’s for dinner?”
Question asked about Baked Chicken Tenderloins
Can I use frozen chicken tenderloins for this recipe?
Absolutely, but you’ll need to thaw them completely first. Pat them extra dry with paper towels since frozen chicken releases more moisture. I usually thaw them overnight in the fridge, then let them sit at room temperature for about 15 minutes before seasoning. This ensures even cooking and better seasoning adhesion.
How do I know when my baked chicken tenderloins are done?
The most reliable method is using a meat thermometer, you want to hit 165°F in the thickest part. Visually, they should be golden brown on the outside and the juices should run clear when you cut into them. If you don’t have a thermometer, cut into the thickest piece, there should be no pink remaining.
Why isn’t my coating staying crispy?
This usually comes down to moisture and temperature. Make sure your chicken is completely dry before coating, and don’t skip the oil step, it helps the coating adhere and crisp up. Also, avoid covering the chicken after baking, as trapped steam will soften that beautiful crust you worked so hard to create.
Can I prepare these ahead of time?
You can season and coat the tenderloins up to 4 hours ahead of time. Store them covered in the refrigerator, then bring to room temperature for 15 minutes before baking. However, for the crispiest results, I recommend coating them right before baking. The breadcrumb mixture can be prepared days ahead though.
What’s the best way to reheat leftover baked chicken tenderloins?
Skip the microwave if you want to maintain that crispy coating. Instead, reheat them in a 350°F oven for 8-10 minutes. Place them on a wire rack over a baking sheet to allow air circulation all around. This method keeps the coating crispy while warming the chicken through evenly.

Swiftly Captions by Tina Smith — Quick, flavorful food recipes made simple, bringing fresh inspiration to your kitchen every day