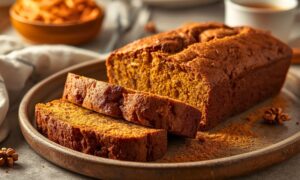
You know that moment when your phone buzzes. Another text asking what’s for dessert tonight. Your calendar’s packed. Work ran late. The kids need homework help. But you still want something impressive. Something that makes people think you spent all day baking. Enter Caramel Apple Cider Cake With Maple Whipped Cream, your secret weapon for looking like a baking genius without the stress.
Last Tuesday changed everything for me. My neighbor Sarah stopped by after work. She was frazzled. Three back to back meetings. Soccer practice in an hour. “How do you do it?” she asked. I handed her a slice. Watched her face transform. That’s when I knew this recipe was special.
This isn’t your grandmother’s fussy layer cake. No complicated techniques. No specialty equipment gathering dust. Just straightforward steps that fit into real life. You can prep parts ahead. Bake it on Sunday. Serve it Thursday. It actually gets better with time.
The apple cider reduces while you’re doing other things. The caramel comes together during commercial breaks. The whipped cream? Two minutes, tops. Every component works around your schedule. Not against it.
Here’s what makes this different from other desserts. Most impressive cakes demand your full attention. This one? It’s forgiving. Understanding. Built for the woman juggling seventeen things at once. You know, the real world.
My kids actually cheer when I make this. My husband brings coworkers home for “just one slice.” Last month, three people asked for the recipe. At a potluck where everyone brought store bought. This Caramel Apple Cider Cake With Maple Whipped Cream makes you the hero. Every single time.
Why Busy Women Love This Recipe
Let’s get real about time. You don’t have hours to babysit a mixer. Most layer cakes are needy. They demand constant attention. Not this beauty.
The active baking time? Under thirty minutes. Everything else is hands off. The cider reduces on its own. The cake bakes while you help with homework. The cooling happens while you’re doing literally anything else.
Make the components separately over a few days. Nobody says you need to do everything at once. Monday night, reduce that cider. Takes twenty minutes. Wednesday, bake the layers. Thursday, assemble it all. Suddenly you’ve got an impressive dessert. Without the stress.
The caramel sauce keeps for weeks refrigerated. Make a double batch. Use it on ice cream. Stir it into coffee. Drizzle over apples. You’re not just making one dessert. You’re creating a pantry staple.
This cake feeds a crowd easily. One recipe serves twelve to fifteen people. Perfect for birthday parties. School events. Office potlucks. Holiday dinners. Anywhere you need to impress without spending your whole weekend baking.
The Modern Twist on Tradition
Traditional apple cakes are dense and heavy. They sit like bricks in your stomach. Nobody wants that after a big meal. This version stays light and tender.
We’re using reduced apple cider for intense flavor. No watery, bland cake here. Every bite packs that autumn apple punch. Without weighing anyone down.
The maple whipped cream replaces fussy buttercream frosting. No meringue to worry about. No temperature controlled sugar syrup. Just cream and maple syrup. Whip it up. Done.
Store bought caramel sauce works in a pinch. I won’t judge. Sometimes shortcuts are necessary. Homemade tastes better though. And honestly? It’s easier than you think.
Ingredients for Your Caramel Apple Cider Cake With Maple Whipped Cream
Here’s your shopping list in cooking order:
For the Cake:
- 2 cups apple cider (grab it fresh)
- 2 ½ cups all purpose flour
- 2 teaspoons baking powder
- 1 teaspoon baking soda
- 1 teaspoon ground cinnamon
- ½ teaspoon ground nutmeg
- ¼ teaspoon ground cloves
- ½ teaspoon salt
- ¾ cup unsalted butter, room temperature
- 1 ½ cups granulated sugar
- 3 large eggs, room temperature
- 1 teaspoon vanilla extract
- ¾ cup sour cream, room temperature
For the Caramel:
- 1 cup granulated sugar
- 6 tablespoons unsalted butter, cubed
- ½ cup heavy cream, room temperature
- Pinch of sea salt
For the Maple Cream:
- 2 cups heavy whipping cream, cold
- ⅓ cup pure maple syrup
- 1 teaspoon vanilla extract
Smart Swaps for Real Kitchens
Out of sour cream? Greek yogurt works perfectly. Use full fat though. Low fat dries everything out. I learned this the hard way.
Can’t find apple cider? Apple juice works. Reduce it longer though. You need concentrated flavor. Simmer it down until it’s syrupy.
For spices, customize away. Hate cloves? Skip them. Love ginger? Add half a teaspoon. Cardamom is beautiful here too.
Real maple syrup is non negotiable. The fake stuff is just corn syrup. It makes weird, overly sweet cream. Real maple has depth. Complexity you can’t fake.
Unsalted butter always for baking. You control the salt that way. Salted butter varies wildly between brands. Stay consistent. Stay unsalted.
Quick Shopping Tips
Buy cider from the refrigerated section. Look for cloudiness. Sediment at the bottom is good. That’s where flavor lives.
Farmers market cider beats grocery store usually. But store brands work fine. Check for 100% apples. No added water. No sweeteners.
Taste your cider before using. It should taste bright and tart. Bland cider needs more reduction time. You need that apple punch.
Step by Step Magic That Fits Your Schedule
Reducing the Cider (Do This First)
Pour cider into a saucepan. Medium heat works best. Let it simmer and bubble. Stir occasionally.
This takes about twenty five minutes. You want half a cup remaining. It’ll be thick like syrup. The color darkens to deep amber.
Here’s the mistake everyone makes. They rush it. High heat burns the cider. Bitter and gross. Keep it gentle. Patience wins here.
Let it cool completely before using. Hot cider scrambles eggs. That’s a disaster. I usually make this first thing. Let it cool while I prep.
Prep Your Pans (Two Minutes, Done)
Preheat oven to 350°F. That’s your magic number. Too hot burns edges. Too cool makes gummy centers.
Grease two 9-inch round pans. Butter or spray works. Line bottoms with parchment paper. This guarantees easy release.
Skip the parchment at your own risk. Stuck cake makes you want to cry. Five seconds of prep saves major headaches.
Mix Dry Ingredients (One Minute)
Whisk flour, baking powder, baking soda, and spices. Add salt too. This distributes everything evenly.
Use a big bowl. Makes folding easier later. Small bowls create flour explosions. Learn from my mistakes.
Set this aside. We’ll come back to it.
Cream Butter and Sugar (The Important Part)
Room temperature butter in the mixer. Add sugar. Beat on medium high for three to four minutes.
You’re looking for pale and fluffy. Don’t rush this step. Those sugar crystals cut air pockets. That’s what makes light cake.
Cold butter won’t cream right. Too warm melts instead of fluffs. Room temperature is everything.
Add Eggs and Vanilla
Crack eggs in one at a time. Beat well after each. This builds stable emulsion. Everything combines smoothly.
Add vanilla now. That warm aroma makes everything better. It rounds out apple flavors beautifully.
Mixture might look separated. That’s okay. It comes together with flour. Don’t panic.
The Alternating Method (Keeps It Tender)
Add flour and liquids alternately. Start with flour. End with flour.
Three additions work best. Flour, then cider plus sour cream, then flour. Easy pattern.
Mix just until combined. Overmixing makes tough cake. Stop when dry streaks disappear.
Baking Time (Hands Off for 30 Minutes)
Divide batter evenly between pans. Tap them on counter. This releases air bubbles.
Bake twenty eight to thirty two minutes. Start checking at twenty eight. Toothpick should come out clean.
Cake springs back when pressed lightly. Edges pull slightly from pan. These are your cues.
Cool ten minutes in pans. Turn out onto racks. Let them cool completely.
Making the Caramel (Easier Than You Think)
This requires attention but not skill. Watch it closely. Don’t walk away.
The Simple Method
Put sugar in a heavy saucepan. Light colored pan shows color changes. Dark pans hide this.
Heat on medium. Don’t stir initially. Just watch. Sugar melts from edges. Gently swirl the pan.
It clumps up weird. Keep going. Everything melts eventually. Takes about five minutes.
Adding Butter and Cream
When sugar turns deep amber, add butter. It bubbles violently. This is normal. Whisk quickly.
Remove from heat. Pour in cream. More bubbling. Keep whisking. It smooths out.
Return to low heat if needed. Whisk until smooth. Add salt. It balances sweetness perfectly.
Cool slightly before using. Too hot soaks weird. You want pourable. Not scalding.
The Two Minute Maple Cream
Cold cream is crucial. Pop your bowl in the freezer ten minutes.
Pour cream into chilled bowl. Beat on medium. As it thickens, drizzle in maple syrup. Add vanilla.
Beat until soft peaks form. Don’t overdo it. Over whipped gets grainy. Almost butter like. You want clouds.
Taste it. This stuff disappears fast. Make extra if you want.
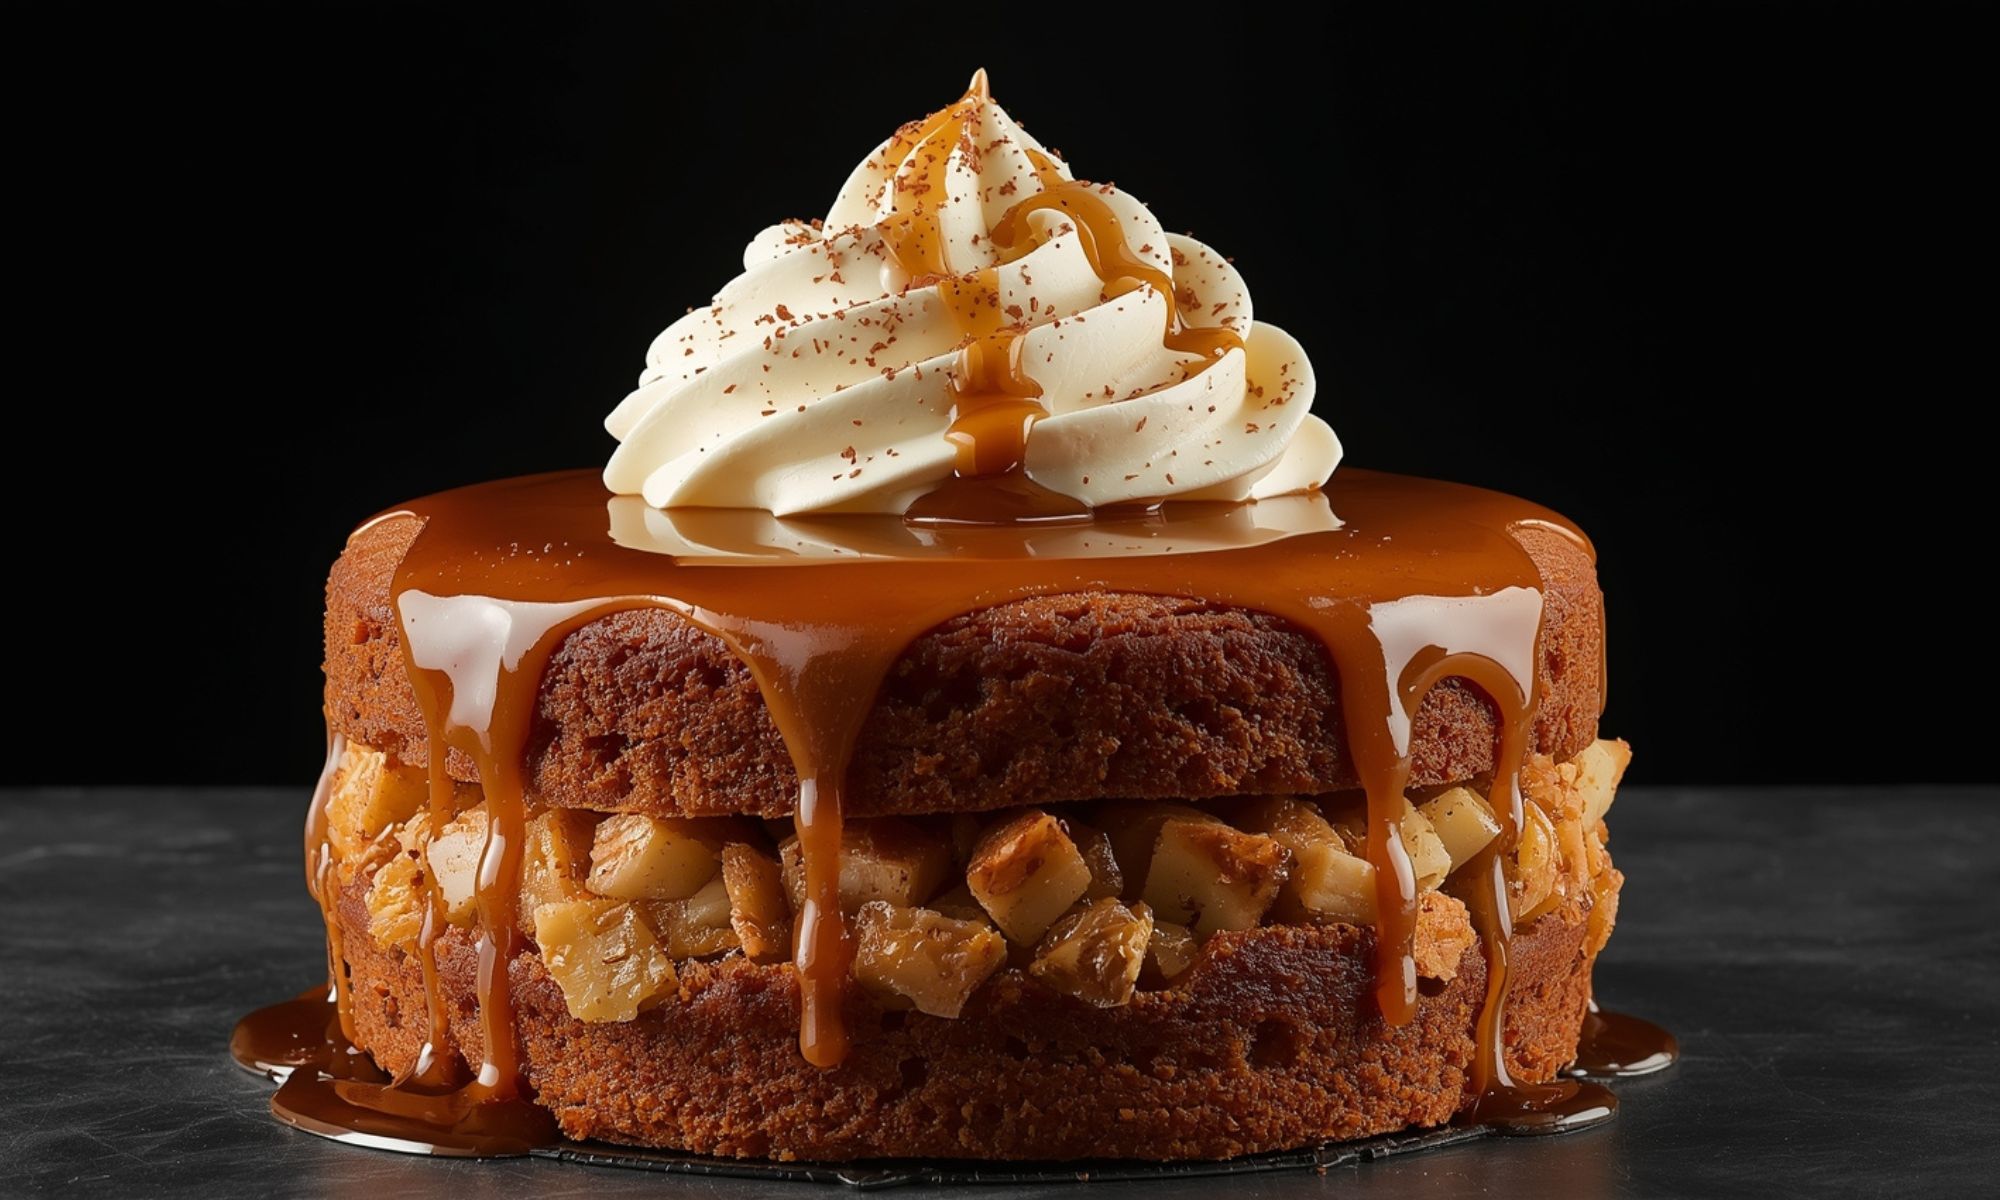
Assembly: Where Magic Happens for Your Caramel Apple Cider Cake
Place first layer on serving plate. Poke holes with skewer. Not huge. Just little punctures.
Drizzle half the caramel over. It soaks in. Creates gooey pockets. Spread thin maple cream layer.
Second cake layer goes on top. More holes. More caramel. Let some drip down sides. That’s the gorgeous effect.
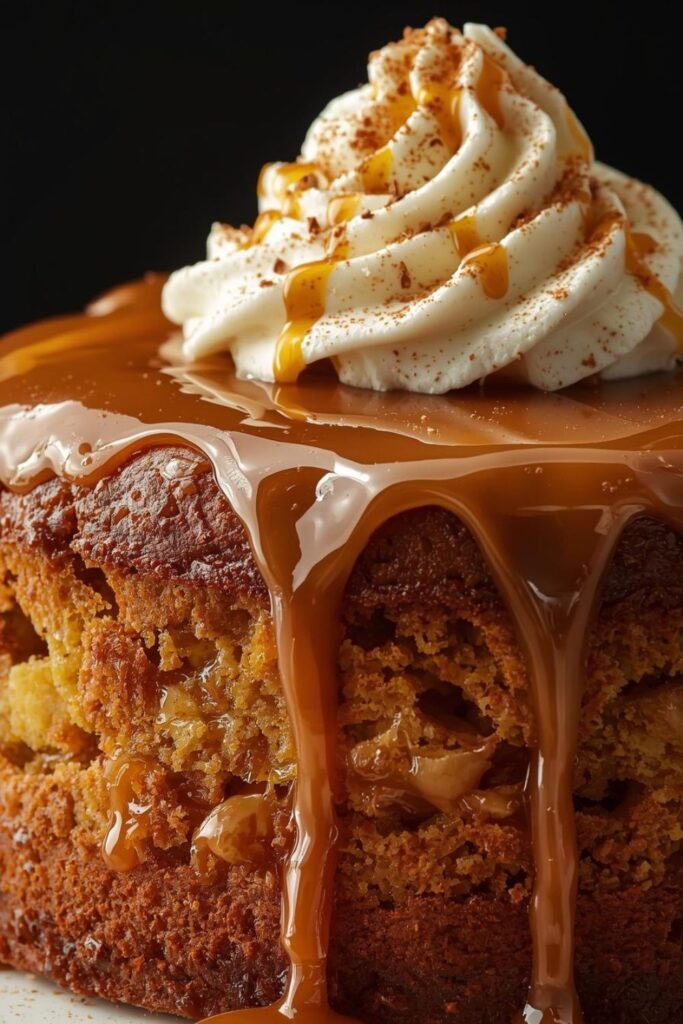
Top with remaining whipped cream. Pile it high. Make it abundant. Drizzle leftover caramel over everything.
Making It Instagram Ready (Optional)
Apple slices on top look beautiful. Maybe cinnamon sticks. Keep it simple though.
Natural light near windows makes photos pop. Avoid overhead lights. They create weird shadows.
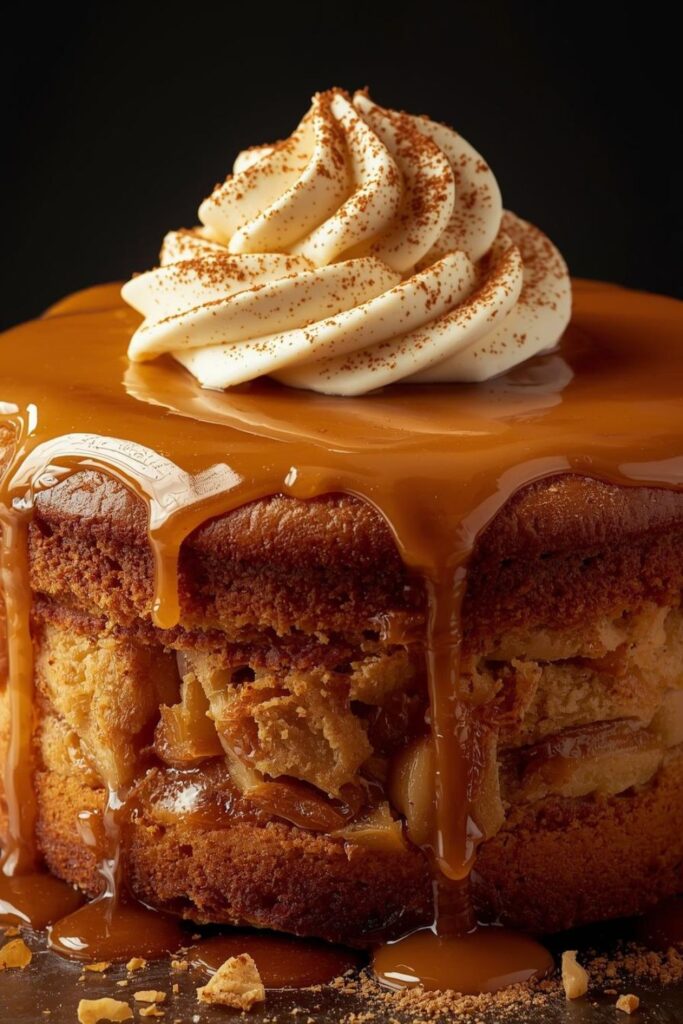
Show that slice shot. The layers. The caramel seeping. That’s the money shot.
The Science Behind This Caramel Apple Cider Cake With Maple Whipped Cream
Why Reduce the Cider
Water makes dense cake. Too much moisture creates gummy crumb. Reducing cider concentrates flavor without adding liquid.
Apple solids left behind act as natural pectin. They add structure. Help everything bind. Food science magic.
The Caramel Soak Technique
Professional bakers use simple syrup. We’re using caramel for flavor. Same principle though.
Holes let caramel penetrate deep. Every bite gets butterscotch flavor. Not just outside. The whole slice benefits.
This keeps cake moist for days. No dry, stale crumb. No disappointed family members.
Why Room Temperature Matters
Cold eggs and butter don’t mix well. They create lumpy batter. Room temperature emulsifies smoothly.
Fat and water don’t naturally combine. Eggs contain lecithin. That’s an emulsifier. Same temperature makes chemistry work.
Perfect Pairings
Late harvest Riesling works beautifully. Sweetness matches without competing. Ice wine is even better, offering a luxurious finish that elevates every bite of caramel and apple. Its golden hue and honeyed aroma create an elegant harmony that turns dessert into an experience.
Moscato d’Asti brings bubbles and fruit. Light enough. Sweet enough. Its gentle fizz refreshes the palate between rich, creamy spoonfuls, adding a playful sparkle that brightens each bite and balances the cake’s deep autumn warmth.
Tawny port sounds weird. But caramel notes? They sing together. Trust this pairing for cozy evenings, elegant dinners, or a fireside dessert moment that feels effortlessly indulgent — a perfect finale to any festive gathering.
Wine for Grown Up Gatherings
Late harvest Riesling works beautifully. Sweetness matches without competing. Ice wine is even better, offering a luxurious finish that elevates every bite of caramel and apple.
Moscato d’Asti brings bubbles and fruit. Light enough. Sweet enough. Its gentle fizz refreshes the palate between rich, creamy spoonfuls.
Tawny port sounds weird. But caramel notes? They sing together. Trust this pairing for cozy evenings, elegant dinners, or a fireside dessert moment that feels effortlessly indulgent.
Why This Cake Becomes Your Signature
The Caramel Apple Cider Cake With Maple Whipped Cream isn’t just dessert. It’s your secret weapon. The recipe that makes you legendary.
People request this for every fall gathering. Birthdays. Thanksgiving. Random Tuesday nights. Once you’ve made it a few times? Muscle memory takes over.
Flavors mature as it sits. Day two tastes even better. Day three if it lasts. Caramel soaks deeper. Spices bloom. Everything mellows together.
Make this your own. Try different spices. Experiment with caramel. Add nuts. Dried cranberries work too. This recipe forgives. It wants you to succeed.
Most importantly? It fits real life. Your busy, chaotic, beautiful life. Where impressive desserts can’t take all day. Where shortcuts aren’t cheating. They’re survival.
This Caramel Apple Cider Cake With Maple Whipped Cream understands that. It respects your time. Rewards your effort. Makes you look amazing. Without demanding everything you’ve got.
Final Pro Tips from One Busy Baker to Another
Caramel seized up? Add more cream gradually. Warm it gently. It smooths out. Don’t throw it away.
Cake too domed? Level it with serrated knife. Those scraps? Baker’s snacks. Pop them in your mouth.
Store in the fridge always. Whipped cream demands it. Bring to room temperature before serving. Cold mutes flavors.
Make caramel sauce ahead. Keeps for weeks refrigerated. Reheat gently when needed. Same with reduced cider.
Test baking powder freshness. Old powder makes flat cakes. Drop some in hot water. It should fizz vigorously.
Frequently Asked Questions
Can I Make This Caramel Apple Cider Cake Ahead?
Absolutely yes. This is perfect make ahead dessert. Bake layers two days early. Wrap them tightly. Store at room temperature. Make caramel sauce ahead too. Keep it refrigerated. Assemble the cake day before serving. Whipped cream might weep slightly overnight. Just touch it up before serving. Everything tastes better with time anyway. Flavors deepen and blend beautifully. This is actually ideal for busy schedules. Spread the work over several days. No stress on party day.
What If I Don’t Have Apple Cider?
Concentrated apple juice works instead. Simmer it down more though. You need intense apple flavor. Fresh pressed juice from stores works great. Avoid anything with added water. Hard cider won’t work here. Alcohol changes the chemistry completely. Stick with non alcoholic options. In real pinch? Use applesauce thinned with apple juice. Not ideal but functional. Texture changes slightly. Flavor stays decent though. Better than skipping the recipe entirely.
How Do I Store Leftover Cake?
Keep it refrigerated always. Whipped cream needs cold temperatures. It lasts four to five days easily. Cover loosely with plastic wrap. Or use a cake dome. Before serving, let it sit out twenty minutes. This brings flavors forward. Cold dulls sweetness. Room temp lets you taste everything. Caramel might crystallize slightly in fridge. That’s normal. It softens as it warms. My family never lets it last that long. But it’s good to know.
Can I Freeze This Caramel Apple Cider Cake?
Cake layers freeze beautifully unfrosted. Wrap individually in plastic wrap. Then aluminum foil. They keep three months. Thaw overnight in fridge. Then assemble fresh. Don’t freeze assembled cake. Whipped cream gets weird. Icy and separated when thawed. It’s disappointing. Freeze components separately instead. This gives you flexibility. Fresh whipped cream beats frozen every time. Smart planning beats brute force.
My Caramel Turned Out Too Thick Help
Thin it with cream or water. Add tablespoon at a time. Warm it gently on stove. Whisk constantly until you reach desired consistency. Too thin beats too thick. Thick caramel doesn’t soak in. It just sits on top. Pourable honey consistency is perfect. You want it to drip slowly. Not run like water. Not sit like paste. Test on a spoon. It should coat the back.

Swiftly Captions by Tina Smith — Quick, flavorful food recipes made simple, bringing fresh inspiration to your kitchen every day