Have you ever tasted a dish so comforting it feels like home in every bite? For many, Chiles Relleno are exactly that a warm, savory hug from the heart of Mexican kitchens. I remember watching my grandmother carefully roast poblano peppers on an open flame, their skins blistering and fragrant, as she hummed old ranchera songs. The aroma alone could pull everyone into the kitchen, waiting for that first bite. She made them with patience, pride, and a whole lot of love.
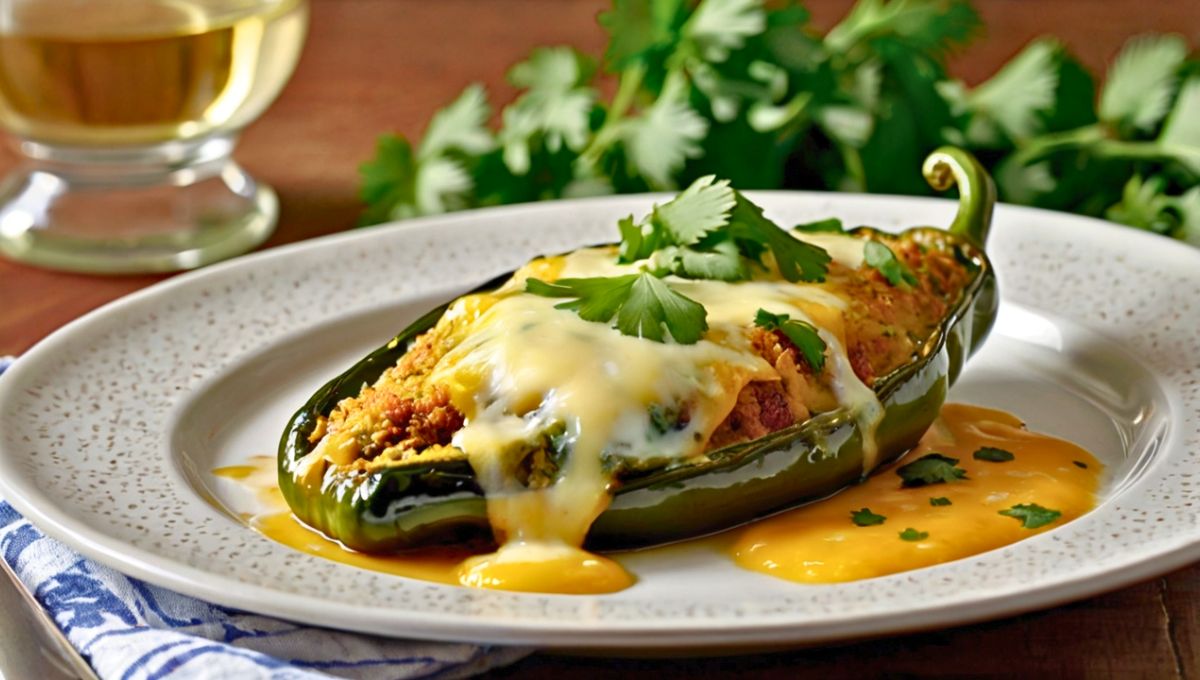
But this dish isn’t just nostalgic, it’s a masterpiece of texture and flavor. Smoky, mild chiles are stuffed with creamy cheese or savory meat, dipped in a fluffy egg batter, then pan fried until golden and crisp. Served with a simple tomato sauce or on their own, they’re the kind of meal that stops conversation after the first bite only satisfied silence follows.
In this post, I’ll show you how to bring this classic to life in your own kitchen. You’ll learn the essential steps from charring and peeling the peppers to making a light, airy batter that doesn’t fall flat. Whether you’re new to Mexican cooking or looking to perfect a family favorite, this guide will give you everything you need. By the end, you’ll not only have a plate full of Chiles Relleno you’ll have a new favorite recipe to share and savor. Get ready to master the art of Chiles Relleno with confidence and flavor.
Ingredients & Substitutions
For the Peppers
- 8 large poblano peppers (fresh and firm with smooth, unwrinkled skin)
- 1 pound Oaxaca cheese (or substitute with mozzarella or Monterey Jack)
- 1/4 cup all purpose flour for dredging
- Vegetable oil for frying (about 2 cups)
The choice of pepper is crucial poblanos deliver the perfect balance of mild heat and earthy flavor. Freshness matters alot here! Look for peppers with tight, glossy skin and substantial weight for their size. If poblanos aren’t available, Anaheim peppers work in a pinch, though they’re less flavorful and typically smaller.
For the cheese, authentic chile relleno uses Oaxaca cheese, which melts beautifully without becoming greasy. Good mozarella (not the pre shredded stuff) makes an excellent substitute, offering similar meltability and mild flavor. Monterey Jack works too, but adds a slightly sharper note.
For the Batter
- 6 large eggs, separated
- 1/2 teaspoon salt
- 1/4 teaspoon fresh ground black pepper
- 2 tablespoons all purpose flour
Using room temperature eggs is non negotiable for achieving that perfect soufflé like batter. Cold eggs won’t whip to the same volume, and you’ll end up with dense, sad Chile rellenos instead of airy, crispy ones. Trust me on this, I’ve made this mistake more times than I’d like to admit!
For the Tomato Sauce (Optional but Recommended)
- 6 ripe tomatoes
- 1 medium white onion, roughly chopped
- 3 garlic cloves, peeled
- 2 serrano peppers (remove seeds for less heat)
- 1/4 cup cilantro leaves
- 1 tablespoon vegetable oil
- 1 teaspoon dried oregano (Mexican oregano preferred)
- Salt and pepper to taste
The sauce component is where you can really get creative. Traditional tomato sauce provides acidic balance to the rich, cheesy peppers, but tomatillo based green sauces work beautifully aswell. For a quick shortcut that still delivers flavor, doctor up a good quality canned tomato sauce with fresh garlic, cilantro, and a splash of vinegar.
Step by Step Instructions
Preparing the Peppers
First things first: we need to char and peel those poblanos. This step isn’t just about removing the skin it fundamentally transforms the pepper’s flavor profile.
Place your poblanos directly over an open flame (gas stove burner works perfectly) or under a broiler set to high. Rotate them frequently until the skin is blackened and blistered all over about 5-7 minutes total. Don’t rush this process! Uneven charring will make peeling difficult.
Immediately transfer the charred peppers to a plastic bag and seal it, or place them in a bowl covered tightly with plastic wrap. Let them steam for 10-15 minutes. This steaming step is crucial it loosens the skin and makes peeling much easier. Skipping it means you’ll be picking off tiny bits of skin forever, and nobody has time for that.
Once steamed, gently rub off the blackened skin under a thin stream of cool water. Be careful not to tear the pepper flesh, it’s delicate after roasting. Make a small lengthwise incision (about 2 inches) in each pepper and carefully remove the seed cluster, keeping the stem intact. A small spoon helps to scrape out any remaining seeds without damaging the pepper.
Stuffing the Peppers
Pat the peeled peppers dry with paper towels. Moisture is the enemy of our batter, so don’t skip this step!
Cut your cheese into rectangular strips about 1/2 inch thick and 3 inches long. A single large strip works better than multiple small pieces, which might leak out during frying.
Carefully insert a cheese stick into each pepper through the slit you made. The pepper should close around the cheese if it doesn’t, you’ve either used too much cheese or torn the pepper. Some cooks secure the opening with toothpicks, but I find that a properly sized cheese strip and careful handling works just fine.
Now here’s my secret trick: after stuffing, place the peppers on a baking sheet and freeze them for 20-30 minutes. Not rock solid, just firm enough that the cheese won’t immediately melt when it hits the hot oil. This little detour makes the frying process much more manageable.
Making the Batter
This batter is essentially a savory soufflé mixture, and technique matters tremendously.
Separate your eggs, placing whites in a large mixing bowl and yolks in a smaller one. Make sure your bowl for whites is squeaky clean any trace of fat will prevent proper whipping. I’ve ruined many a batter by using a bowl that had invisible traces of oil!
Beat the egg whites until they form stiff peaks. You’ll know they’re ready when you can turn the bowl upside down without anything falling out. If ya over beat them, they’ll become grainy and break down, so stop once they’re glossy and hold their shape.
In the separate bowl, beat the egg yolks with salt, pepper, and flour until pale yellow and slightly thickened.
Gently fold the yolk mixture into the beaten whites using a rubber spatula. Use a down across up and over motion, rotating the bowl as you go. The goal is to combine the mixtures without deflating the whites. Stop when just incorporating a few streaks of white are actually preferable to over mixing.
Frying the Chile Rellenos
Heat oil in a deep, heavy skillet to 375°F (190°C). The oil should be about 1 inch deep. Temperature control is everything here, too hot and the outside burns before the cheese melts; too cool and the peppers absorb oil, becoming greasy.
Lightly dredge each stuffed pepper in flour, shaking off excess. This helps the batter adhere properly.
Using a slotted spoon or your hands, dip each floured pepper into the egg batter, making sure it’s completely coated. The batter should cling to the pepper in a thick layer.
Carefully place the battered pepper into the hot oil, holding it by the stem and laying it away from you to prevent splashing. Cook only 2-3 peppers at a time to maintain oil temperature.
Fry until golden brown on one side (about 2-3 minutes), then gently flip and fry the other side. The batter will puff up dramatically that’s exactly what we want!
Transfer to a wire rack set over paper towels. Never place fried foods directly on paper towels; they’ll steam from below and lose crispness.
Making the Sauce
While traditional chile relleno can be served without sauce, a good tomato sauce elevates the dish to restaurant quality heights.
Char the tomatoes, onion, garlic, and serrano peppers on a hot comal or cast iron skillet until blackened in spots. This develops complex, smoky flavors that a simple simmered sauce can’t match.
Transfer the charred vegetables to a blender along with cilantro. Blend until smooth, but not completely pureed a bit of texture is nice.
Heat oil in a saucepan over medium heat. Carefully pour in the blended mixture (it will splatter!) and cook, stirring frequently, for about 10 minutes until slightly thickened. Season with oregano, salt, and pepper.
Cooking Techniques & Science
The magic of Chile Relleno lies in the fascinating science behind its preparation. The charring process isn’t just for flavor it triggers the Maillard reaction, creating hundreds of new flavor compounds that weren’t present in the raw pepper. Simultaneously, the heat breaks down cell walls, softening the pepper’s flesh while maintaining its structural integrity.
The egg batter deserves special attention. It’s essentially a savory soufflé that uses the hot oil to set its structure. The proteins in the egg whites unfold when beaten, creating a network that traps air. When this network hits hot oil, the air pockets expand rapidly before the proteins permanently set, creating that distinctive puffy texture.
Temperature control during frying is non negotiable. At 375°F, the batter sets quickly enough to prevent oil absorption while allowing enough cooking time for the cheese to melt properly. Too hot (above 400°F), and you’ll get a burned exterior with cold cheese inside; too cool (below 350°F), and the batter absorbs oil like a sponge, resulting in greasy chiles.
For those avoiding deep frying, there is an oven baked version. After coating in batter, place the peppers on a well oiled baking sheet and bake at 425°F for about 20 minutes, turning halfway through. The result won’t have quite the same ethereal texture, but it’s a decent compromise for health conscious cooks.
Serving & Pairing Suggestions
Traditionally, Chile Rellenos are served immediately after frying, when the contrast between crispy exterior and molten interior is at its peak. Plate them atop a pool of warm tomato sauce, allowing some of the sauce to cascade down the sides without completely submerging the peppers, you can maintain that textural contrast.
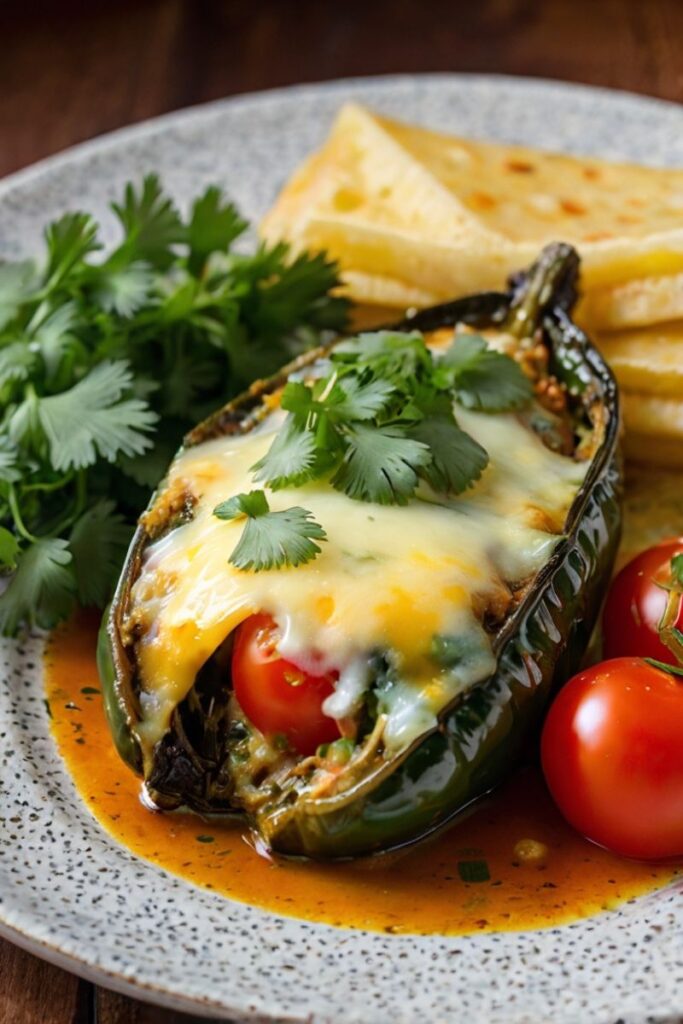
For presentation worthy of a high end Mexican restaurant, garnish with micro cilantro, thin radish slices, and a light dusting of cotija cheese. A small dollop of crema on the side adds another temperature and texture element that works beautifully.
Chile rellenos pair wonderfully with simple sides that won’t compete with their complex flavors. Mexican rice with its tomato base echoes the sauce notes, while simple black beans provide earthy balance. A light salad dressed with lime and olive oil cuts through the richness perfectly.
For beverages, skip the margaritas; their acidic profile overwhelms the peppers. Instead, try a Negro Modelo beer, whose malty sweetness complements the dish’s savory aspects. Non alcoholic options include horchata, which cools the palate between bites, or a simple agua fresca de Jamaica (hibiscus tea) for refreshing contrast.
Regional Variations
Chile relleno isn’t a monolithic dish it varies tremendously across Mexico’s diverse culinary landscape.
In Puebla, where the dish likely originated, chile rellenos often come bathed in a walnut based cream sauce (nogada) and pomegranate seeds, creating the colors of the Mexican flag. This festive version appears primarily around Mexican Independence Day.
Oaxacan variations might include quesillo cheese and sometimes picadillo (spiced meat mixture) instead of just cheese. The sauce there often incorporates chocolate for deeper complexity.
Northern Mexican border regions typically serve their chile rellenos with a beef gravy rather than tomato sauce, reflecting the region’s cattle ranching heritage.
Each variation maintains the essential elements roasted pepper, filling, batter while expressing local culinary identity through subtle modifications. That’s the beauty of traditional recipes they evolve while maintaining their soul.
Common Mistakes and Troubleshooting
The most frequent chile relleno disaster? Cheese breaching the pepper during frying, creating an oily, splattered mess. If this happens, don’t panic! Lower the heat immediately and use a slotted spoon to remove any escaped cheese. The key prevention is proper sealing and not overstuffing.
Soggy batter usually means either your oil wasn’t hot enough or you crowded the pan. Remedy this by maintaining proper temperature and frying in batches. If serving a crowd, keep finished chiles warm in a 200°F oven on a wire rack never cover them or they’ll steam and lose crispness.
If your batter slides off the pepper, you likely skipped the flour dredging step. That thin layer of flour creates the necessary bond between pepper and batter. No flour, no adhesion.
Conclusion
Chiles Relleno embodies the soul of Mexican cuisine tradition and technique in perfect harmony. These stuffed peppers teach us valuable cooking principles: patience in roasting, precision in battering, and the importance of quality ingredients. What makes exceptional Chiles Relleno isn’t fancy equipment but respect for the process. Take your time with each step, especially pepper roasting and batter preparation. Whether for family dinner or special occasions, remember that Chiles Relleno reward care and punishes haste. Pour yourself a small mezcal, take a deep breath, and enjoy creating this beloved classic every bite is worth the effort.
FAQs
Can I make Chiles Relleno ahead of time?
Char, peel and stuff peppers a day ahead, but fry just before serving. Reheat if necessary in a 350°F oven for 10 minutes, though texture won’t be as perfect.
Why did my cheese leak during frying?
Either overstuffed peppers or too large a slit. Use less cheese, secure with toothpicks, or try the quick freeze technique.
Are there non dairy filling options?
Try sautéed mushrooms, corn, and epazote for a delicious vegan version. Ensure filling isn’t too moist to prevent soggy batter.
How spicy are Chiles Relleno?
Poblanos vary from mild to medium. If heat sensitive, taste each pepper after roasting and adjust cheese accordingly more cheese tempers heat.