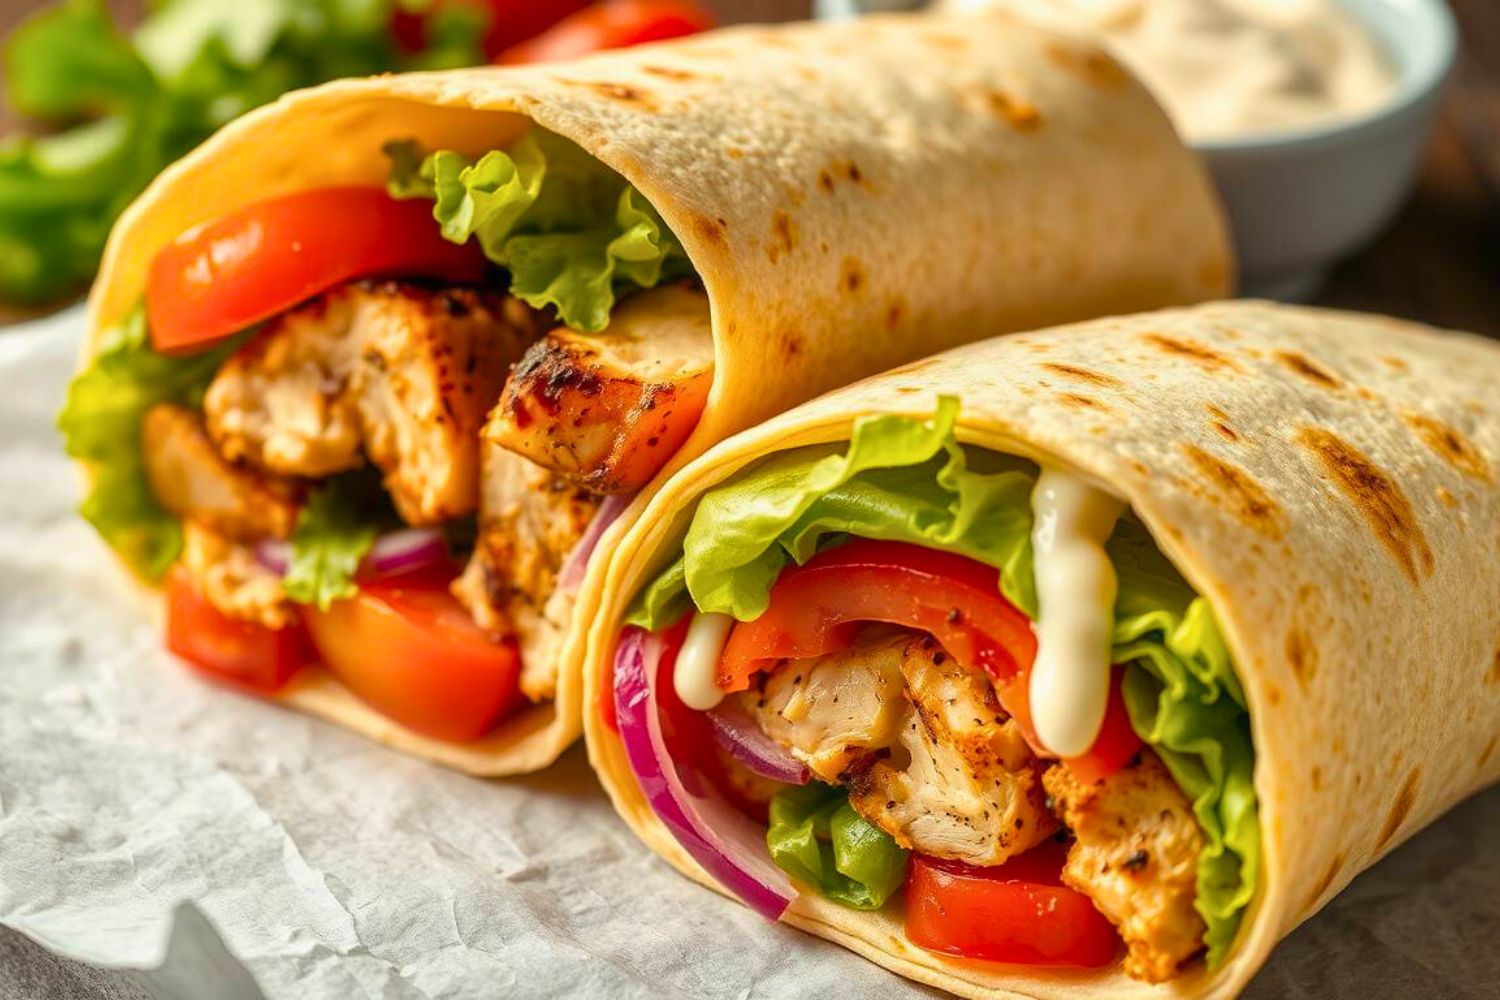
When lunch feels like just another task on your to-do list, Grilled Chicken Wraps step in to save the day. Quick to make, satisfying to eat, and packed with flavor, these wraps hit the sweet spot between comfort food and convenience.
This recipe was born out of a chaotic Tuesday: no time, no plan, just leftover grilled chicken, tortillas, and the need for something warm, handheld, and actually good. One quick sizzle in the pan, and lunch was transformed.
If you’re craving something simple, smoky, and seriously delicious, you’re in the right place. This post will walk you through the best way to build Grilled Chicken Wraps that deliver every time
Why You’ll Love These Grilled Chicken Wraps
Most people think wraps are just convenient. I’m here to tell you they can be spectacular when you know the secrets. Treat each component with respect, your chicken deserves proper seasoning and grilling, your vegetables need satisfying crunch, and your wrap should be warm.
What sets these apart from average deli wraps? Technique and timing. We’re gonna char that chicken for beautiful grill marks. We’ll prep vegetables so they stay crisp for days. And we’ll master perfect wrap folding, no soggy bottoms.
Great grilled chicken wraps start with understanding moisture. Too much creates soggy messes. Too little creates cardboard. We’re walking that perfect line where every bite satisfies.
Essential Ingredients for Perfect Grilled Chicken Wraps
The Star Players in Grilled Chicken Wraps
For the Chicken:
- 2 pounds boneless, skinless chicken breasts (or thighs if you’re feeling fancy)
- 3 tablespoons olive oil
- 2 teaspoons garlic powder
- 1 teaspoon smoked paprika
- 1 teaspoon ground cumin
- 1 teaspoon dried oregano
- 1 teaspoon salt
- ½ teaspoon black pepper
- Juice of 1 lime
For Assembly:
- 6 large flour tortillas (burrito size works best)
- 2 cups mixed greens or lettuce
- 1 large tomato, diced
- 1 cucumber, thinly sliced
- ½ red onion, thinly sliced
- 1 avocado, sliced
- ½ cup shredded cheese (cheddar or Mexican blend)
- ⅓ cup your favorite sauce (ranch, tzatziki, or chipotle mayo)
Smart Swaps That Actually Work
Can’t find chicken breasts? Swap in thighs, they’re juicier, just cook a bit longer. No ripe avocados? Try sliced bell peppers for crunch and a sweet pop of flavor, especially red ones. Out of flour tortillas? Whole wheat works great, just warm them up for best texture.
Want a lighter twist? Skip the bottled dressing and mix Greek yogurt with ranch seasoning. It’s tangy, protein-packed, and way less heavy. These smart swaps keep your grilled chicken wraps flavorful, flexible, and satisfying, without extra stress or missing out on taste.
Ingredient Selection Secrets
Pick chicken pieces with roughly equal thickness. If they’re uneven, pound them out with a mallet. This ensures even cooking. Nobody wants dry edges and raw centers.
Skip pale grocery store tomatoes if possible. They’re mostly water and create soggy wraps. Roma tomatoes work better. Always remove seeds and pulp before dicing.
Your tortilla choice matters more than you think. Those thin ones tear when you look at them wrong. Go for the thicker burrito, style tortillas that can handle some weight without falling apart.
Step by Step Magic: Creating Grilled Chicken Wrap Perfection
Prepping the Chicken
Whisk olive oil, garlic powder, smoked paprika, cumin, oregano, salt, pepper, and lime juice in a large bowl. Add the chicken and coat well. Marinate for 30 minutes, or up to 8 hours for deeper flavor.
For extra flavor, lightly score the chicken in a crosshatch pattern. It helps the marinade soak in and boosts caramelization on the grill.
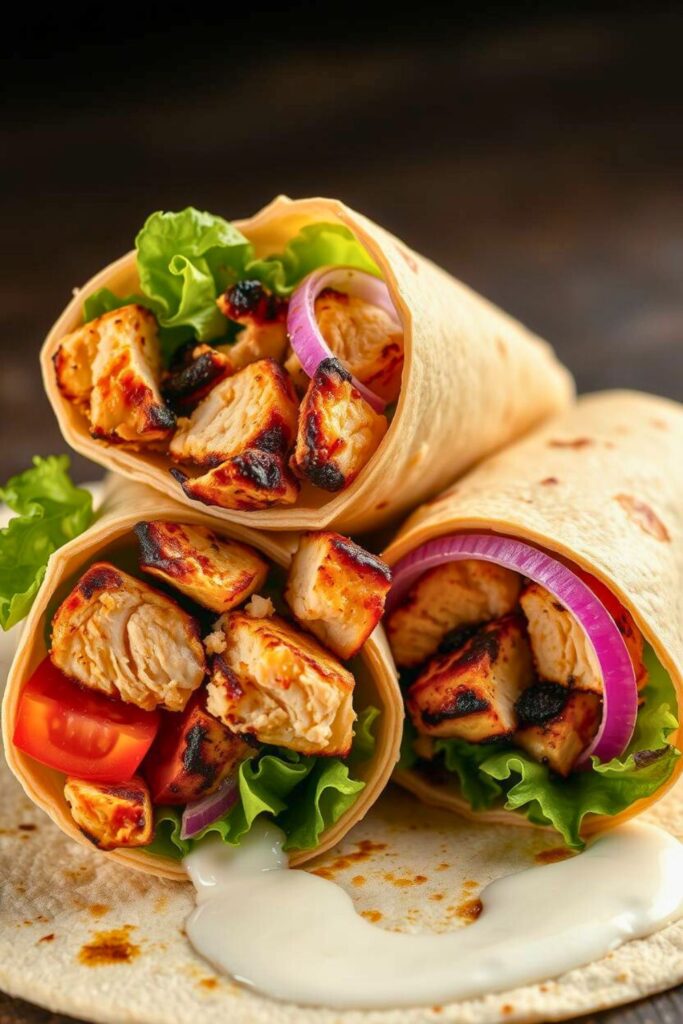
The Grilling Game
Preheat your grill to medium high heat. If you’re using a gas grill, keep one side slightly cooler for insurance. Charcoal folks, push your coals to one side after they’re ready.
Oil your grates, don’t skip this step. Nothing ruins the mood like stuck, torn chicken.
Place your chicken on the hottest part and resist moving it around. Let it sear for 4-5 minutes until gorgeous grill marks form. Then flip once and grill another 4-6 minutes.
Use a meat thermometer if you have one, aim for 165°F. No thermometer? Press the center of the thickest piece. It should feel firm with slight give.
The Assembly Line
While your chicken rests (it needs 5 minutes minimum), warm your tortillas. Wrap them in damp paper towels and microwave for 30 seconds, or toss them on the grill for 10-15 seconds per side.
Slice that chicken while it’s warm, you’ll get juicier results. Cut against the grain in ½-inch strips.
Here’s where organization saves the day. Set up your assembly line: tortillas, sauce, greens, chicken, vegetables, cheese. Work in that order and you’ll never have a messy workspace.
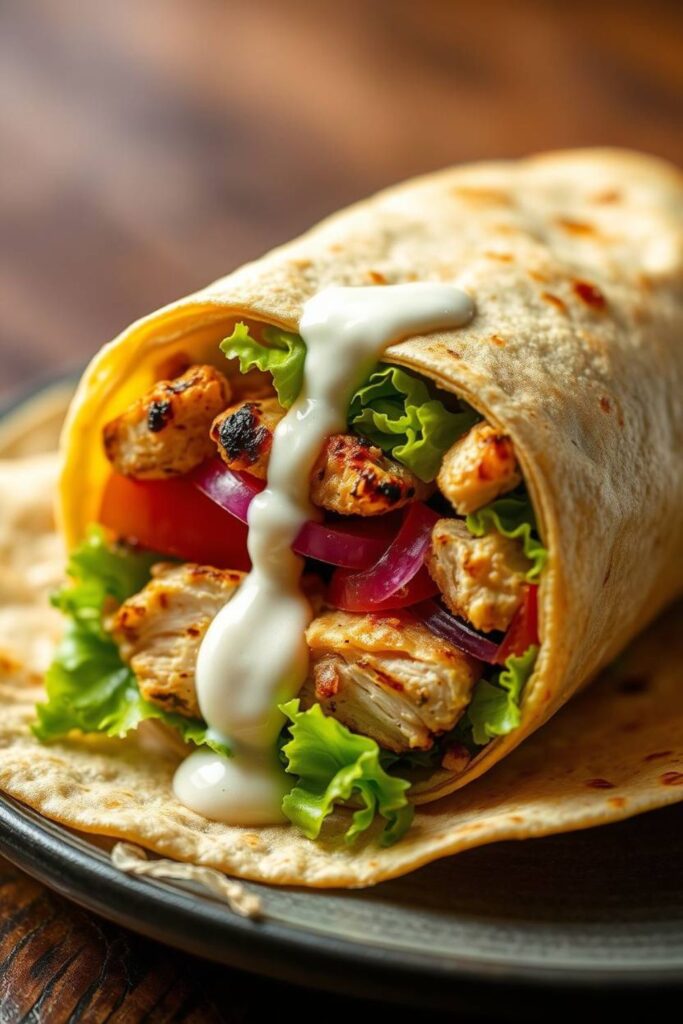
The Perfect Wrap Technique
Lay your warm tortilla flat, spread a thin line of sauce down the center, leaving a 2-inch border. Don’t overdo it, too much sauce can make it messy.
Layer greens first, then chicken, firmer veggies, cheese, and avocado. Fold the bottom, tuck in the sides, and roll tightly, firm tension keeps everything together.
The Science Behind the Sizzle
Understanding why these techniques work makes you better. When we sear chicken on high heat, we create the Maillard reaction, proteins and sugars breaking down to create complex flavors and golden color.
Don’t move the chicken while it cooks. Every lift interrupts the process and releases precious heat. Trust the process and let the grill work.
The marinade serves multiple purposes beyond flavor. The acid from the lime juice actually starts breaking down tough proteins, making the meat more tender. The oil helps conduct heat evenly and prevents sticking. And those spices? They’re not just sitting on the surface, they’re creating a flavorful crust that seals in juices.
When we rest meat after cooking, juices redistribute throughout the chicken instead of running onto your cutting board. This creates juicy chicken, not dry disappointment.
Temperature control is everything in grilling. Too hot chars the outside while leaving the inside raw. Too cool dries out the meat before it develops flavor. Medium high heat creates that sweet spot where magic happens.
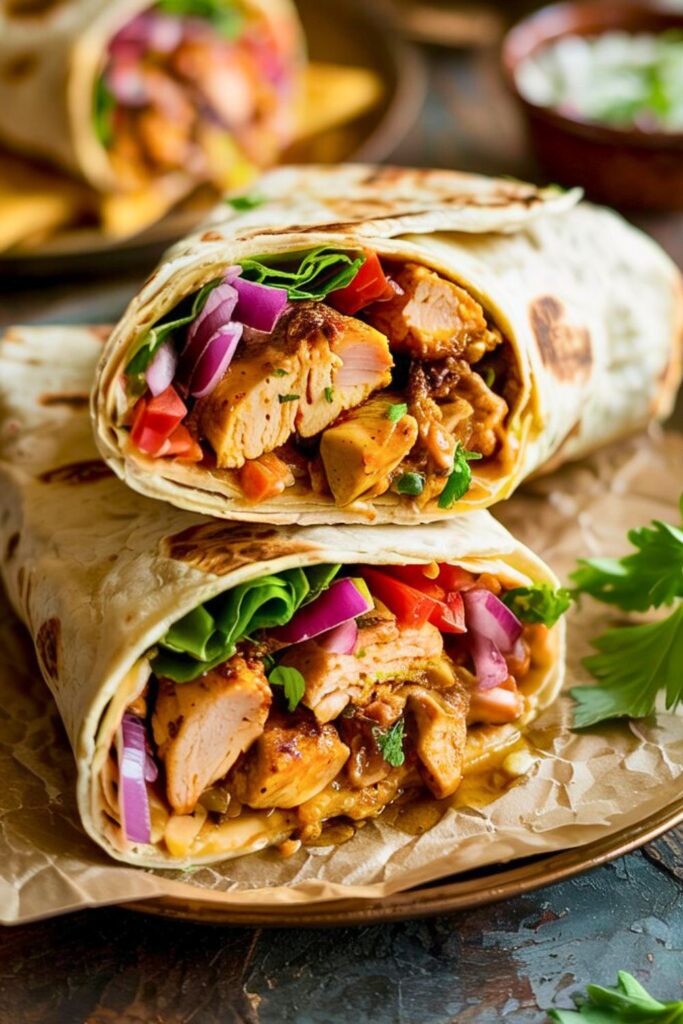
Making It Beautiful & Delicious
Presentation matters, even for weekday lunches. After wrapping, slice your grilled chicken wraps diagonally with a sharp knife, this shows off all those beautiful layers and makes them easier to eat.
If you’re serving these for a party, arrange them cut side up on a platter with the seam side down. Garnish with fresh herbs like cilantro or parsley, and maybe add some lime wedges on the side.
For photos that’ll make your friends jealous, natural light is your best friend. Place your plate near a window and maybe add a colorful napkin or some fresh vegetables in the background.
These wraps pair beautifully with sweet potato fries, a simple fruit salad, or even just some good tortilla chips with salsa. For drinks, iced tea, lemonade, or a cold beer complement the smoky flavors perfectly.
If you’re feeling fancy, serve them with a side of extra sauce for dipping. Ranch, chipotle mayo, or even a simple yogurt based tzatziki all work wonderfully.
Creative Variations to Keep Things Interesting
Mediterranean Twist
Swap the Mexican inspired seasonings for oregano, basil, and lemon zest. Use tzatziki instead of ranch, add cucumber, tomatoes, red onion, and feta cheese. Toss in some kalamata olives if you’re feeling adventurous.
Buffalo Style
After grilling, toss your chicken in buffalo sauce. Add celery, carrots, blue cheese crumbles, and ranch dressing. It’s like your favorite bar food in a convenient package.
Asian Fusion
Marinate the chicken in soy sauce, ginger, and garlic. Add shredded cabbage, carrots, cucumber, and peanut sauce. Top with crushed peanuts and fresh cilantro.
BBQ Lovers Dream
Use your favorite BBQ rub on the chicken and finish with BBQ sauce. Add coleslaw, pickles, and extra cheese. It’s like having a pulled pork sandwich but with perfectly grilled chicken.
Breakfast for Dinner
Add scrambled eggs, hash browns, and breakfast sausage along with your grilled chicken. Use hot sauce instead of ranch and you’ve got the ultimate breakfast wrap.
Storage and Meal Prep Mastery
These grilled chicken wraps are meal prep gold when you do it right. Cook your chicken on Sunday and store it separately from other ingredients. It stays fresh for 4 days in the refrigerator.
Prep your vegetables and store them in separate containers. This keeps everything crisp and prevents cross contamination of flavors. Nobody wants onion flavored lettuce.
If you’re making wraps ahead of time, wrap them tightly in plastic wrap or aluminum foil. They’ll stay fresh for up to 2 days, but honestly, they’re best eaten within 24 hours of assembly.
Never freeze assembled wraps, the vegetables will turn to mush when they thaw. But you can absolutely freeze the cooked, seasoned chicken for up to 3 months. Just thaw it overnight in the refrigerator before using.
For grab and go convenience, wrap each one individually and label them with the date. Your future self will thank you when you’re running late and need a real meal instead of vending machine sadness.
The Perfect Grilled Chicken Wraps: Your New Go To Recipe
What makes these grilled chicken wraps worth your time? It’s that perfect combination of convenience and satisfaction that’s hard to find in most quick meals. You’re getting restaurant quality flavors with the comfort of home cooking, all wrapped up in a package you can eat with one hand.
The beauty of this recipe is its flexibility. Master the basic technique and you can adapt it to whatever you’ve got in your fridge or whatever your family is craving. It’s the kind of recipe that grows with you, getting better every time you make it.
Remember, the key to great grilled chicken wraps is respecting each component. Season that chicken well, grill it with confidence, choose fresh vegetables, and don’t overload your tortilla. Keep it simple, keep it fresh, and keep it delicious.
Start with this base recipe and make it your own. Mix up the seasonings, switch the veggies, find the sauce that speaks to you. Before long, you’ll have a signature wrap everyone asks for by name.
Frequently Asked Questions
How do I keep my grilled chicken wraps from getting soggy?
The secret is controlling moisture at every step. Pat your chicken dry before marinating, remove seeds from tomatoes, and don’t oversauce your wraps. Store wet and dry ingredients separately if making ahead, and always use paper towels to blot excess moisture from vegetables. If you’re meal prepping, pack sauces separately and add them right before eating.
Can I make these wraps without a grill?
Absolutely! A grill pan on the stovetop works beautifully, just preheat it over medium high heat and cook the chicken the same way. You can also use a regular skillet or even bake the chicken at 425°F for 18-22 minutes. The key is getting that nice caramelization on the outside while keeping the inside juicy.
What’s the best way to reheat leftover grilled chicken wraps?
Skip the microwave if you can, it makes tortillas chewy and vegetables soggy. Instead, wrap your leftover wrap in a damp paper towel and heat it in a 350°F oven for 10-15 minutes. Or unwrap it completely and reheat in a dry skillet over medium heat, flipping once. The tortilla will crisp up nicely and everything inside will warm through evenly.
How long does the marinated chicken need to sit before grilling?
Minimum 30 minutes for decent flavor, but 2-4 hours is the sweet spot for maximum taste without the texture getting mushy. You can go up to 8 hours in the refrigerator, but don’t leave it longer than. The acid in the lime juice will start to “cook” the proteins and make the texture weird.
What if my tortillas keep tearing when I roll them?
Warm tortillas are pliable tortillas! Cold tortillas from the fridge are brittle and will crack. Warm them in the microwave wrapped in damp paper towels for 30 seconds, or quickly heat them in a dry skillet. Also, don’t overfill them, it’s better to use two tortillas than to have one that’s bursting at the seams. And make sure you’re rolling tightly but not aggressively, think firm hug, not wrestling match.

Swiftly Captions by Tina Smith — Quick, flavorful food recipes made simple, bringing fresh inspiration to your kitchen every day