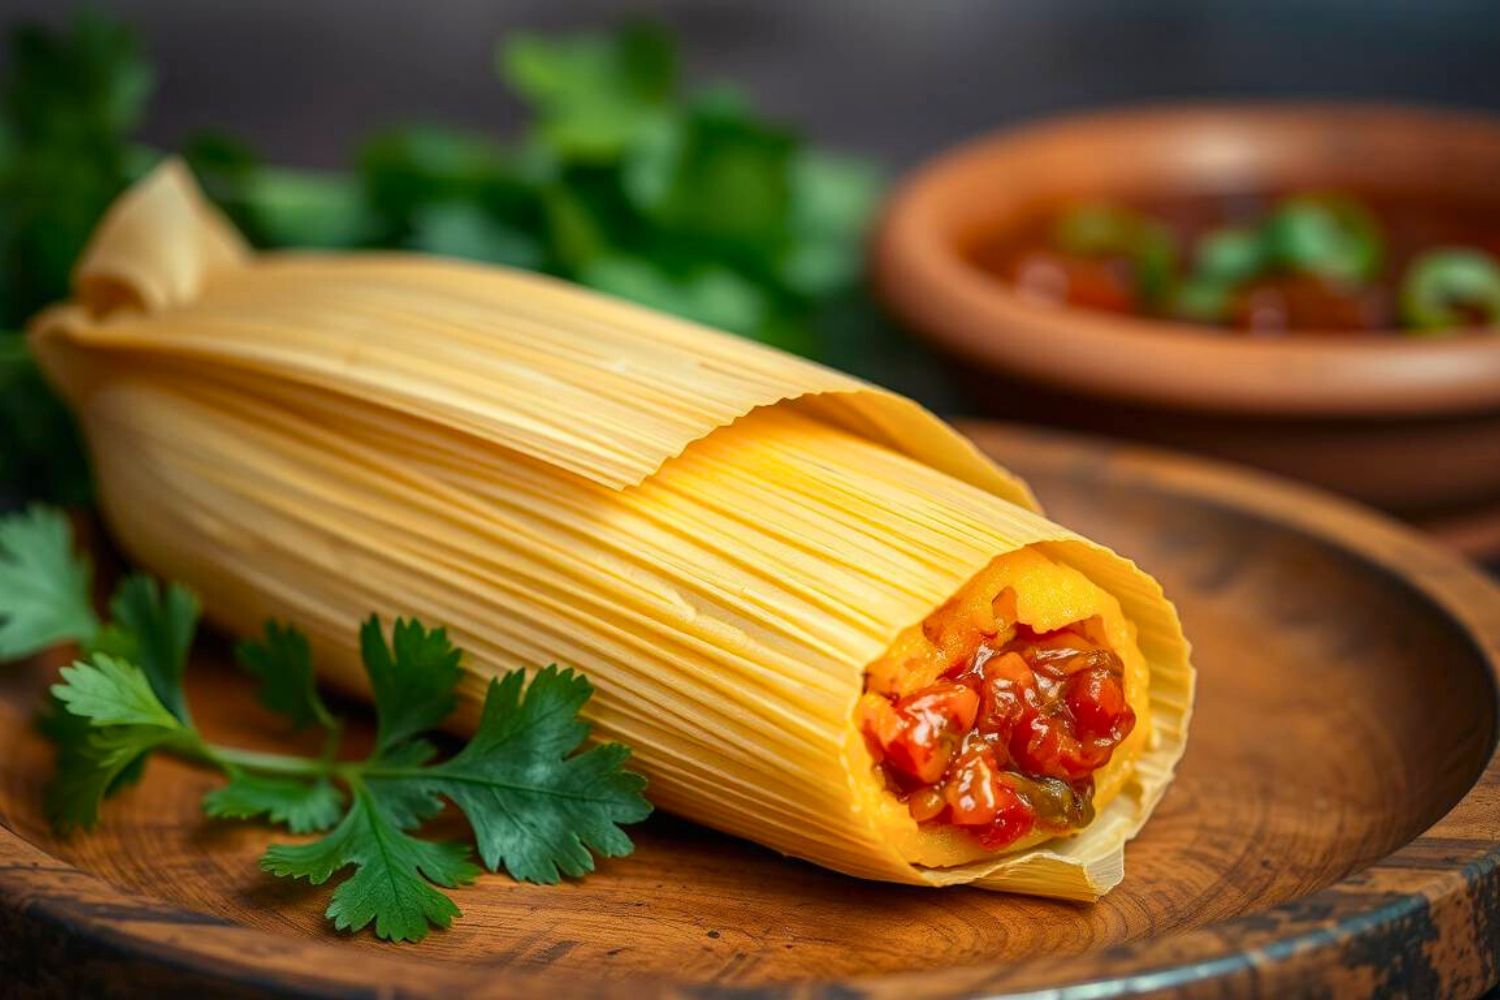
It was late. Cold outside. I had no plan and absolutely no interest in heading to the store. But I had a craving that wouldn’t quit, something soft, savory, and steeped in memory. You know the kind: not just hunger, but a yearning for comfort, for something handmade. That’s when I remembered Mexican Tamales.
I didn’t grow up making them every week, but when we did, it meant something, holidays, birthdays, a full table and full hearts. I pulled out the corn husks, dug up the masa harina, and let instinct take over. The broth whispered as it poured into the dough, the red sauce deepened with toasted chiles and cumin. My kitchen, quiet and dim, suddenly smelled like family.
By the time I unwrapped the first tamal, it was more than dinner. The masa was fluffy, the filling bold, and the whole thing felt like a gift. Something I needed more than I realized. One bite in, and I knew I had to share it with you.
In this post, you’ll get my step by step guide to making Mexican Tamales at home, no big crowd, no holiday rush. Just simple ingredients, rich flavor, and that unmistakable joy of peeling back the husk to something homemade.
Let’s make tamales the way they’re meant to be comforting, meaningful, and just right for right now.
What Makes Mexican Tamales So Special
Let me tell you why tamales deserve permanent spots in your cooking repertoire. First off, they’re incredibly versatile. Want savory? Try pork in red chile sauce. Feeling adventurous? Chicken with green salsa rocks. Got a sweet tooth? Pineapple and cinnamon will blow your mind.
Steaming creates the magic. As masa cooks, it transforms from dense dough into light, fluffy texture that’s almost like savory cake. Corn husks aren’t just packaging, they infuse tamales with subtle, earthy flavor you can’t get otherwise.
But here’s the real secret: tamales are make ahead champions. You can prep them days early, freeze them, and steam them fresh whenever you want. They’re perfect for meal prep, entertaining, or just having something amazing ready when life gets crazy.
The Cultural Heart of Tamales
These aren’t just another recipe, they’re living history. Indigenous peoples made tamales long before Europeans arrived, and this tradition has evolved into something beautiful that connects us to our roots. When you make tamales, you participate in centuries old ritual.
The communal aspect is huge too. Traditional tamaladas (tamale making parties) bring together multiple generations. Kids learn by watching, teenagers get put to work spreading masa, and the elders share stories while they tie each little package. It’s cooking, but it’s also cultural preservation.
Essential Ingredients for Authentic Mexican Tamales
Let’s talk about what you’ll need, in the order that actually makes sense when you’re cooking. Trust me, there’s nothing worse than realizing you forgot something crucial when your hands are covered in masa.
For the Masa:
- 2 pounds masa harina for tamales (not regular masa harina, it’s different!)
- 1 cup lard or vegetable shortening (yeah, I know, but it’s what makes them fluffy)
- 2 teaspoons baking powder
- 2 teaspoons salt
- 2-3 cups warm chicken or vegetable broth
For the Filling (Pork in Red Chile):
- 3 pounds pork shoulder, cut in chunks
- 6 guajillo chiles, stems and seeds removed
- 3 ancho chiles, stems and seeds removed
- 4 garlic cloves
- 1 white onion, quartered
- 1 teaspoon cumin
- Salt and pepper to taste
Plus:
- 30-40 corn husks, soaked in warm water for 2 hours
- Kitchen twine or strips of corn husk for tying
Smart Swaps That Actually Work
Here’s where I become your kitchen fairy godmother. Can’t find lard? Vegetable shortening works, though you’ll lose some traditional flavor. Want to go lighter? You can use half butter, half shortening, but the texture changes slightly.
For the chiles, if you can’t find guajillos, try New Mexico chiles. No anchos? Poblanos work in a pinch, though they’re milder. And here’s a secret: if you’re in a place where Mexican chiles are impossible to find, good quality chili powder mixed with tomato paste can save the day.
The masa harina is non negotiable though. Regular corn meal won’t cut it. You need the stuff specifically made for tamales. It’s treated with lime (cal) and has the right texture. Check the Mexican food aisle or order online.
Picking Perfect Ingredients
Fresh matters, but not always where you think. The chiles? Dried is actually better they’re more concentrated. The masa harina? Fresher is better, so check those dates. And that lard? If you can get it fresh from a butcher, do it. The difference is night and day.
For corn husks, look for ones that are pliable and large enough to wrap generously. If they’re too small or brittle, your tamales will be a nightmare to assemble.
Step by Step Tamale Magic
Preparing Your Mise en Place
Before you even think about touching that masa, get everything ready. This isn’t the time for multitasking gone wrong.
Soak those corn husks in warm water for at least 2 hours. They need to be pliable, not fighting you every step of the way. While they’re soaking, make your filling.
For the pork: Season those chunks generously and brown them in a heavy pot. Don’t crowd them. You want a good sear, not steamed meat. Once they’re browned, add enough water to cover and simmer for about 90 minutes until they’re fork tender.
The Chile Sauce That Changes Everything
While the pork cooks, toast your chiles in a dry pan until they’re fragrant but not burned. We’re talking 30 seconds max, they go from perfect to bitter real quick.
Soak the toasted chiles in hot water for 15 minutes, then blend them with the soaking liquid, garlic, onion, cumin, salt, and pepper. Strain this mixture, trust me on this one. Those little bits of chile skin will mess with your texture.
When the pork is tender, shred it and mix it with enough chile sauce to coat everything nicely. You want it moist but not swimming.
Masa Mastery
Here’s where the magic happens. Beat that lard (or shortening) until it’s light and fluffy. We’re talking 5-7 minutes with an electric mixer. This is crucial. Under beat and your tamales will be dense.
Mix the masa harina with baking powder and salt in a separate bowl. Gradually add this to the whipped lard, alternating with warm broth. The consistency should be spreadable but not wet. Too dry and it won’t steam properly; too wet and it’ll fall apart.
Here’s the test my abuela taught me: Drop a small ball of masa into water. If it floats, you’re ready. If it sinks, beat in a bit more broth and try again.
Assembly Line Efficiency
Set up your workspace like a pro. Drained corn husks on one side, masa in the middle, filling next to that, and a plate for finished tamales. Have some kitchen twine ready too.
Spread masa on the smooth side of the husk, leaving borders on three sides. Don’t go crazy about 2 tablespoons of masa is plenty. Add a spoonful of filling down the center, then fold the husk so the masa edges meet. Fold the bottom up and tie with twine.
Go too fast and the masa might squeeze out the sides. Take your time with the first few until you find your rhythm.
The Steaming Process
Steam these beauties standing up, open end facing up. Use a steamer basket or improvise with a colander and a tight fitting lid. The water should never touch the tamales, we want steam, not boiling.
Steam for 60-90 minutes. They’re done when the husk pulls away from the masa easily, and the masa feels firm but springy. If they’re still mushy, give them more time.
The Science Behind Perfect Tamales
Let’s talk about why these techniques actually work. That lard whipping step? It incorporates air into the fat, which creates lighter texture when the masa steams. The baking powder gives an extra lift, butThe true magic lies in how you prepare and whip the fat..
Steaming is gentle cooking at its finest. The moist heat penetrates masa gradually, cooking it evenly while keeping it tender. Boiling would make them tough and waterlogged.
Those corn husks aren’t just packaging, they’re flavor delivery systems. As they steam, they release subtle earthy notes that infuse the masa. Plus, they create the perfect cooking environment, protecting the tamales while allowing steam to circulate.
The chile sauce needs that straining step because texture matters. Nobody wants chewy bits of chile skin ruining their perfect tamale experience. The blending and straining create this silky sauce that coats the meat beautifully.
Why Timing Matters
Temperature control is everything. Too high heat and the outside cooks before the inside finishes. Too low and you’re waiting forever while the masa stays dense. That gentle, steady steam hits the sweet spot.
The masa consistency affects cooking time too. Thicker masa takes longer but gives you more margin for error. Thinner masa cooks faster but can fall apart if you’re not careful.
Making Your Mexican Tamales Instagram Worthy
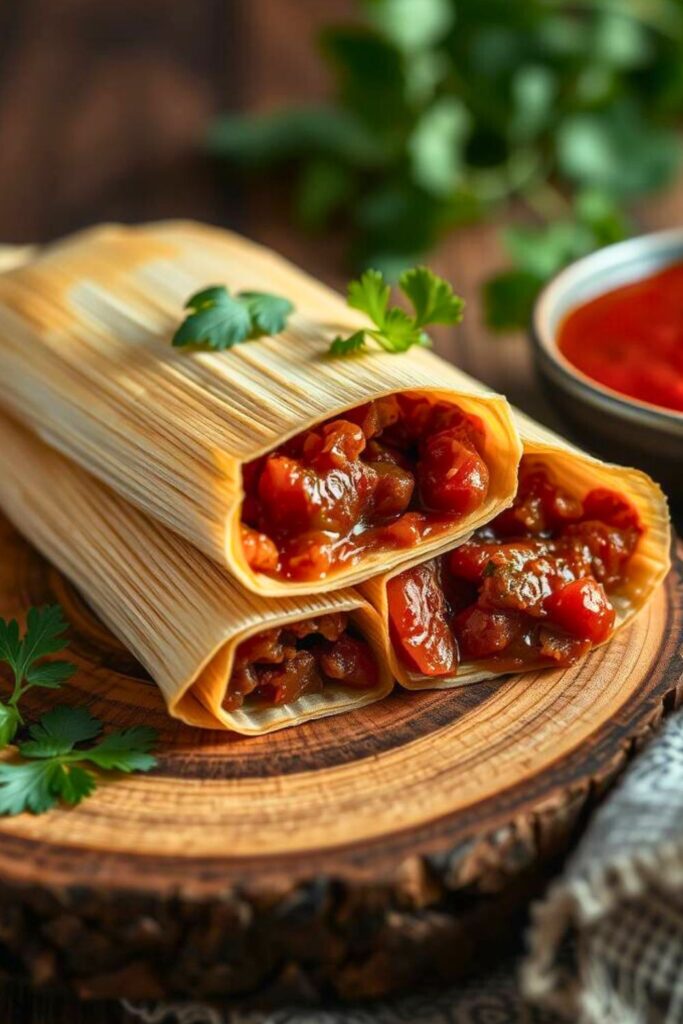
Let’s make these beauties look as good as they taste. When you serve them, leave them partially wrapped. It’s traditional and looks rustic elegant. Arrange them on a wooden board or colorful Mexican pottery for that authentic vibe.
Garnish with fresh cilantro, a dollop of Mexican crema, and maybe some pickled jalapeños on the side. A squeeze of lime brightens everything up and adds that pop of color.
For photos, natural light is your friend. Those corn husks have beautiful texture that shows up gorgeously under soft, indirect sunlight. Don’t over style, the rustic charm is part of the appeal.
Perfect Pairings
These tamales shine alongside Mexican rice and refried beans. The holy trinity of Mexican comfort food. Fresh salsa verde cuts through the richness beautifully. And don’t forget the café de olla (Mexican spiced coffee) or horchata for drinks.
Wine wise, a crisp Sauvignon Blanc or light Pinot Noir work wonderfully. Beer? Corona with lime is classic, but a good Mexican lager like Dos Equis or Modelo pairs perfectly too.
For a complete meal, add a simple green salad with avocado and lime vinaigrette. The fresh, bright flavors balance the rich tamales perfectly.
Bringing It All Together
Mexican tamales are more than just another recipe in your collection. They’re an invitation to slow down, connect with tradition, and create something truly special. The process might take time, but that’s part of the magic. You’re not just making food; you’re creating memories and participating in cultural tradition that spans centuries.
The beauty of tamales lies in their versatility and make ahead nature. Once you master the basic technique, you can experiment with different fillings, from cheese and poblanos to sweet versions with cinnamon and raisins. Each variation tells different story but uses the same fundamental skills.
Remember, perfection isn’t the goal, connection is. Every family has their own tamale style, their own secret ingredients, their own way of folding the husks. Find what works for you and make it your own.
The best part? Once you make a batch, you’ll have enough for several meals. Freeze them wrapped in their husks, and you’ve got homemade tamales ready whenever you need them. Just steam them straight from frozen no thawing needed.
Frequently Asked Questions
Can I make tamales without lard?
Absolutely! While lard gives the most traditional flavor and texture, vegetable shortening works well too. You can even use a combination of butter and shortening for a lighter version. The key is whipping whatever fat you use until it’s light and fluffy that’s what creates the tender texture.
How do I know when my masa is the right consistency?
Here’s the float test: Drop a small ball of masa into a glass of water. If it floats, you’re good to go. If it sinks, your masa needs more liquid or more whipping. The consistency should be spreadable but not wet. Think somewhere between cake batter and cookie dough.
What’s the best way to store and reheat tamales?
Fresh tamales keep in the fridge for up to a week. For longer storage, freeze them in their husks in freezer bags for up to three months. To reheat, steam them for 15-20 minutes from frozen, or wrap in damp paper towels and microwave for 2-3 minutes. The steaming method gives the best texture.
My tamales are coming out dense. What went wrong?
Dense tamales usually mean you didn’t whip the masa enough or it didn’t have enough liquid. Make sure you beat that fat until it’s really light and fluffy. This can take 5-7 minutes with an electric mixer. Also check that you’re using masa harina specifically for tamales, not regular corn meal.
Can I make tamales ahead of time?
That’s actually the beauty of tamales, they’re perfect make-ahead food! You can assemble them completely and refrigerate for up to 2 days before steaming, or freeze them for up to 3 months. They steam beautifully straight from frozen, making them perfect for meal prep or entertaining.