Picture this: you’re ten years old, walking into your grandmother’s kitchen after school, and that smell hits you. That magical, soul warming aroma makes everything better. Chicken bubbling with rice, herbs dancing through the air, comfort settling into every corner. That’s the power of a proper Old Fashioned Chicken and Rice Casserole, and honestly? Most people mess it up completely.
See, somewhere along the way, we bought into this myth that casseroles are just random ingredients tossed together and baked. But this dish? It’s actually a masterclass in layering flavors, understanding how starches absorb liquid, and creating perfect balance between tender chicken and fluffy rice. Today, we’re gonna dive deep into what makes this comfort food classic truly shine.
This isn’t just another chicken and rice recipe, it’s your ticket to understanding why some casseroles make people fight over seconds while others sit sadly in fridges for days. Ready to become that person whose casserole everyone raves about? Let’s get cooking.
What Makes This Old Fashioned Chicken and Rice Casserole Special
Here’s what most people miss: the magic isn’t some secret ingredient or fancy technique. It’s understanding how chicken releases juices as it cooks, how rice absorbs those flavors, and how vegetables add sweetness without stealing the spotlight.
My grandmother never measured anything. She’d layer ingredients with intuitive understanding of how they’d work together. The chicken would render fat, creating richness. Onions would caramelize slightly, adding depth. Rice would soak up beautiful flavors while staying tender.
That’s what we’re recreating here, not just a recipe, but that instinctive understanding of how comfort food actually works.
Gathering Your Ingredients The Foundation of Flavor
Let’s talk about what you’ll need, in the order you’ll actually use them:
For the base:
- 2 cups long grain white rice (not minute rice, trust me on this)
- 3-4 pounds bone in chicken thighs and drumsticks
- 1 large yellow onion, diced
- 2 stalks celery, chopped
- 2 carrots, diced
- 3 cloves garlic, minced
For the liquid magic:
- 4 cups chicken broth (homemade if you’ve got it)
- 1 can cream of mushroom soup
- 1/2 cup whole milk
- 2 tablespoons butter
The flavor builders:
- 1 teaspoon dried thyme
- 1 teaspoon dried sage
- 1/2 teaspoon paprika
- Salt and black pepper to taste
- 1 cup frozen peas (added at the end)
Now, here’s where I become your kitchen fairy godmother with those smart swaps:
Can’t do dairy? Swap that milk for unsweetened almond milk and use olive oil instead of butter. The texture changes slightly, but the flavor stays delicious.
No cream of mushroom soup? Make your own with 3 tablespoons flour, 3 tablespoons butter, 1 cup broth, and some sautéed mushrooms. Way better than the canned stuff anyway.
Living somewhere that long grain rice is hard to find? Jasmine rice works beautifully, just reduce the liquid by about 1/4 cup since it’s a bit more absorbent.
Choose Your Chicken Like a Pro
Here’s something that’ll transform your casserole game forever: use bone in, skin on chicken pieces. I know, I know, grabbing boneless breasts seems easier. But those bones and skin? They’re flavor goldmines.
Bones release gelatin as they cook, creating rich, velvety mouthfeel. Skin renders fat that keeps everything moist. Plus, dark meat stays tender even when you accidentally overcook it.
Look for pieces roughly the same size so they cook evenly. If your thighs are huge and drumsticks tiny, pull smaller pieces out a few minutes early.
The Step by Step Magic: Building Layers of Flavor
Step 1: Setting the Stage
Preheat your oven to 350°F. Grab a 9×13 inch baking dish, glass or ceramic works best because they conduct heat more evenly than metal.
Season your chicken generously with salt and pepper. I mean really generously. This is your chance to get flavor into that meat, so don’t be shy.
Step 2: The Sear That Changes Everything
Heat a large skillet over medium high heat. Add oil just enough to coat the bottom. When it shimmers, add chicken pieces skin side down.
Here’s the crucial part: resist moving them. Let them sit and develop that golden brown crust. You’ll hear them sizzle, and your kitchen will smell amazing. This takes about 4-5 minutes per side.
“But why sear if we’re just gonna bake it?” Great question. That browning creates what food scientists call the Maillard reaction, basically, where real flavor happens. Those golden bits? They’re concentrated deliciousness.
Step 3: Building the Vegetable Foundation
Remove chicken and set aside. In that same skillet (don’t clean it, those brown bits equal flavor gold), add butter.
Toss in onions first. They need most time to develop sweetness. Cook them until they start turning golden, about 5 minutes.
Add celery and carrots. These guys add sweetness and texture, but need less time. Just 3-4 minutes until they soften.
Throw in garlic for the last minute. Garlic burns easily, so it goes in last. You’ll know it’s ready when your kitchen smells heavenly.
Step 4: Creating the Rice Base
Spread rice evenly in your baking dish bottom. Don’t rinse it first, we want that starch to thicken our sauce.
Spoon those beautiful sautéed vegetables over rice. Try distributing them evenly, nobody wants bites that are all rice or all vegetables.
Step 5: The Liquid That Brings It All Together
Whisk together chicken broth, cream of mushroom soup, milk, thyme, sage, and paprika in a bowl. Taste it, it should taste well seasoned and flavorful because this mixture will cook your rice.
Pour this mixture over rice and vegetables. Use a spoon to gently mix everything, making sure rice distributes evenly and stays mostly submerged.
Step 6: The Final Assembly
Nestle seared chicken pieces on top, skin side up. Keep skin above the liquid, this way it stays crispy while meat braises in wonderful flavors.
Cover tightly with foil. I mean tightly, don’t let steam escape during the first cooking phase.
The Science Behind the Sizzle: Why This Method Works
Here’s what happens in your oven: rice slowly absorbs seasoned liquid while chicken cooks above it. Chicken releases juices, adding even more flavor to rice.
That initial searing locked in flavors and created texture contrast. Vegetables provide sweetness and nutrients. Chicken bones release gelatin, making everything silky and rich.
The covered cooking method creates gentle, moist environment, basically, we’re braising chicken while rice steams beneath it. It’s like two cooking methods happening simultaneously in perfect harmony.
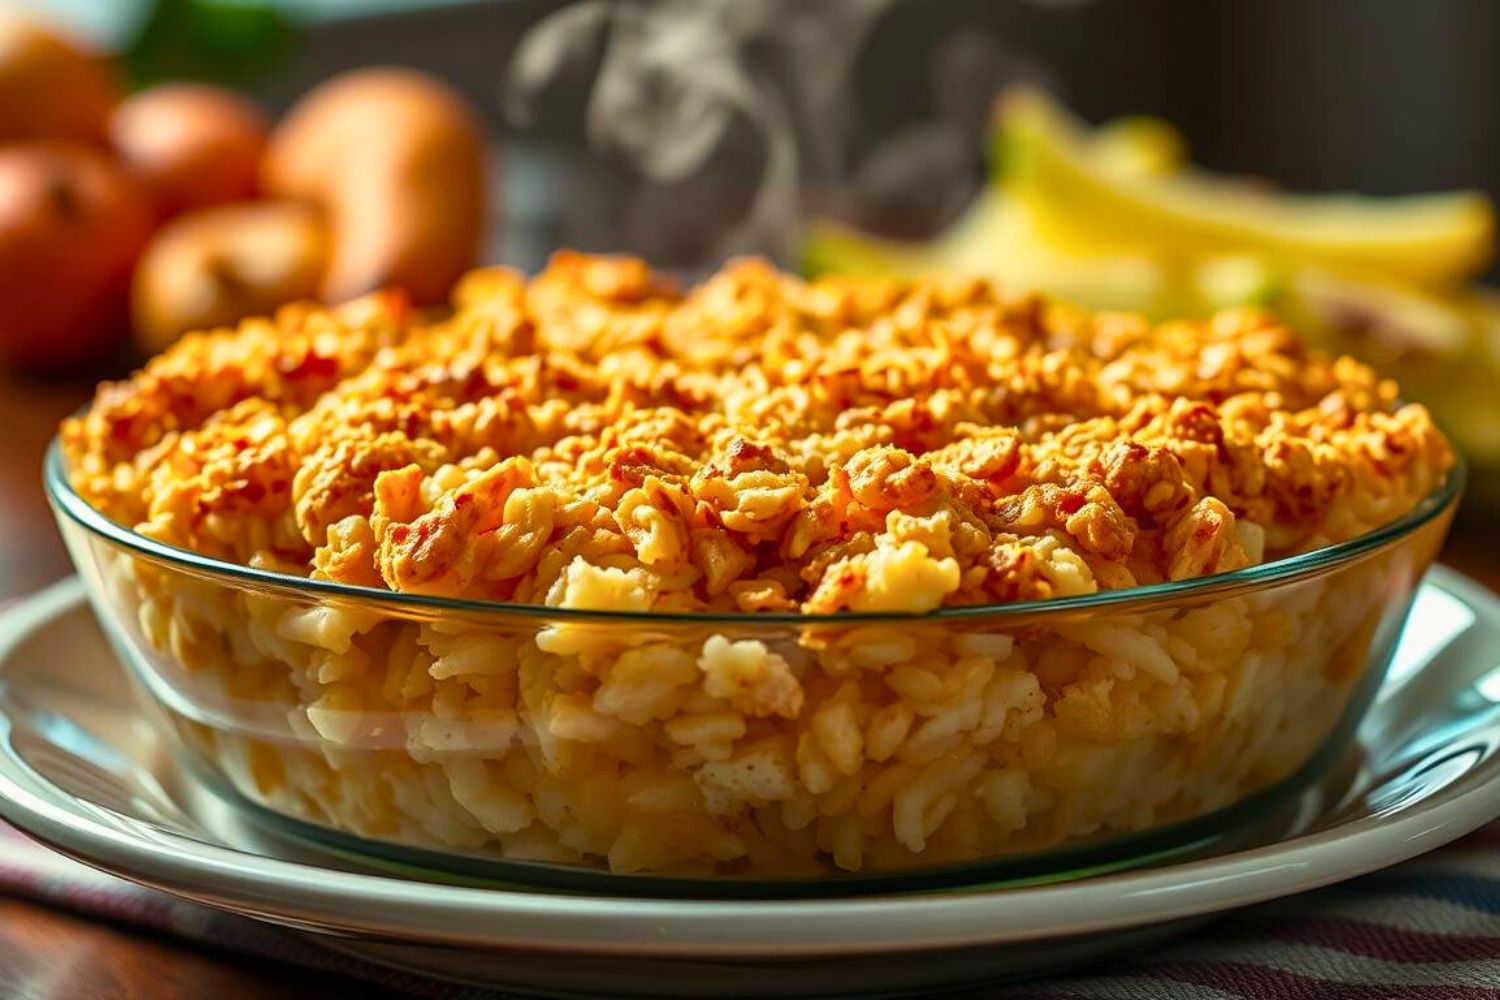
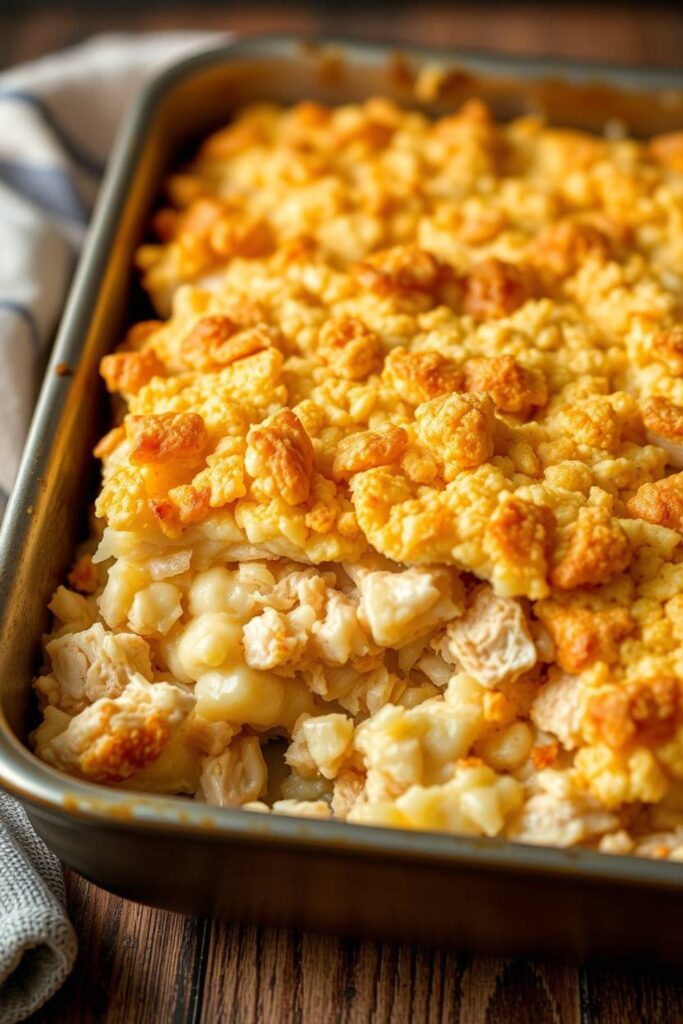
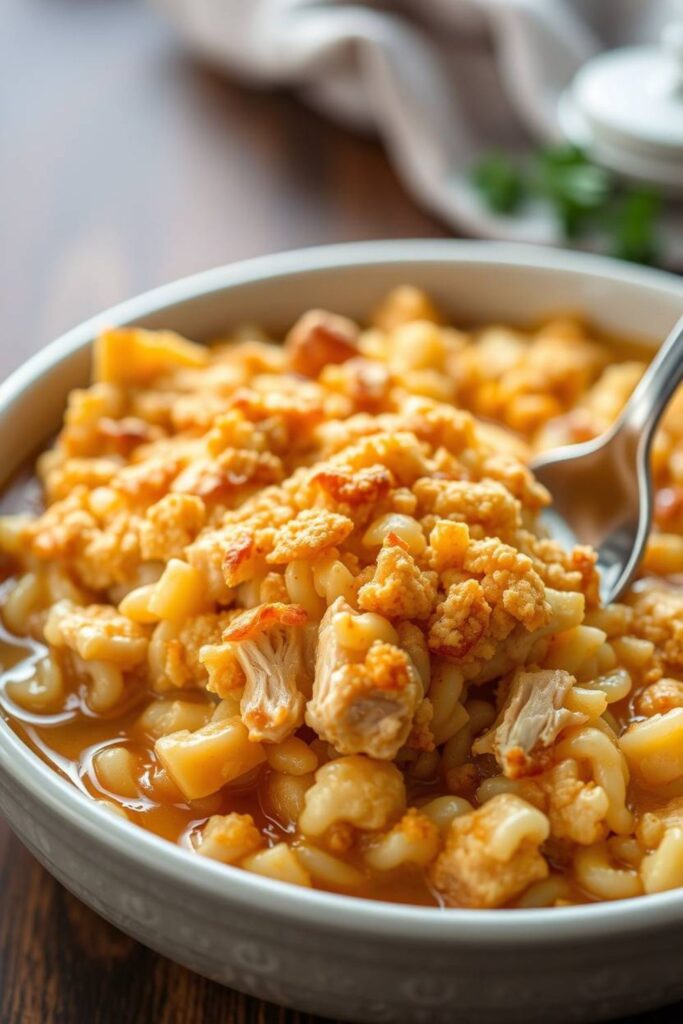
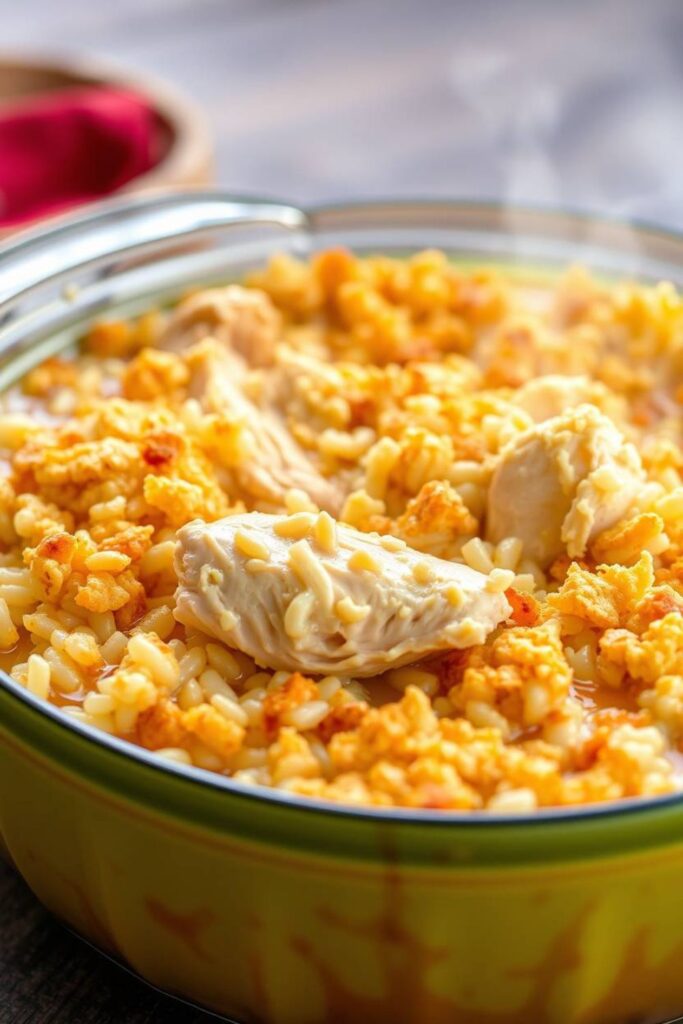
After about 45 minutes, remove foil so chicken skin can crisp up while rice finishes absorbing liquid. The result? Tender, flavorful chicken with perfectly cooked rice that absorbed every delicious flavor.
The Cooking Timeline: Your Step by Step Guide
Minutes 1-15: Sear chicken, sauté vegetables Minutes 15-20: Assemble casserole Minutes 20-65: Covered baking (45 minutes) Minutes 65-80: Uncovered baking (15 minutes) Minutes 80-85: Rest with peas stirred in
Bake covered for 45 minutes. Then remove the foil and bake for another 15 minutes until the chicken skin is golden and the rice has absorbed most of the liquid.
Here’s a pro tip: when you remove the foil, quickly stir in those frozen peas. They’ll cook perfectly in the residual heat without becoming mushy.
Let it rest for 5 minutes before serving. This gives the rice time to absorb any remaining liquid and makes serving much easier.
Common Pitfalls and How to Dodge Them
Problem: Rice comes out crunchy Solution: Your liquid ratio was off, or your oven runs hot. Next time, add an extra 1/2 cup of broth and check it earlier.
Problem: Everything’s mushy Solution: You used too much liquid or cooked it too long. Stick to the ratios and timing, they’re tested and true.
Problem: Chicken is dry Solution: You probably used boneless breasts or overcooked it. Bone in dark meat is much more forgiving.
Problem: No flavor Solution: Season more aggressively, and make sure you’re searing the chicken properly. Those brown bits are where the flavor lives.
Making It Beautiful and Delicious, Presentation Tips
This isn’t the prettiest dish in the world, but a few simple touches make it gorgeous. Sprinkle some fresh herbs on top, parsley, thyme, or chives all work beautifully.
A light dusting of paprika adds color and a hint of smoky flavor.
Serve it family style right from the baking dish, there’s something so welcoming about a casserole that looks like it’s meant to be shared.
Perfect Pairings
This casserole is hearty enough to stand on its own, but here’s what makes it even better:
A simple green salad with lemon vinaigrette cuts through the richness beautifully. The acidity brightens everything up.
Steamed green beans or roasted Brussels sprouts add color and nutrition without competing with the main event.
For wine lovers, a crisp Chardonnay or light Pinot Noir complements the herbs and chicken perfectly.
Old Fashioned Chicken and Rice Casserole: Wrapping It Up
This isn’t just another weeknight dinner, it’s a lesson in how simple ingredients can create something truly special when you understand how they work together.
The beauty of this dish lies in its flexibility. Master the basic technique, and you can swap vegetables, change up the herbs, or add different proteins. It’s comfort food that grows with you.
Most importantly, it’s the kind of dish that brings people together. There’s something about a casserole that says “home” in a way that individual plated meals just can’t match.
Your biggest takeaway? Don’t skip the searing step, don’t rush the process, and trust the technique. Great casseroles aren’t thrown together, they’re built layer by layer, flavor by flavor.
FAQs about Old Fashioned Chicken and Rice Casserole
Can I Make This Old Fashioned Chicken and Rice Casserole Ahead of Time?
Absolutely! Assemble everything up to the point of baking, cover tightly, and refrigerate for up to 24 hours. You’ll need to add about 15 minutes to the covered baking time since you’re starting with a cold dish. The flavors actually develop more when it sits overnight.
What If I Don’t Have Cream of Mushroom Soup?
No problem at all. Make a simple roux with 3 tablespoons each of butter and flour, cook for a minute, then whisk in 1 cup of chicken broth. Add some sautéed mushrooms if you have them. It’s actually better than the canned version and you control the salt content.
Can I Use Brown Rice Instead of White Rice?
You can, but you’ll need to adjust the liquid and cooking time. Brown rice needs about 1.5 times more liquid and takes longer to cook. I’d suggest partially cooking the brown rice first, then assembling the casserole. Otherwise, your chicken might overcook while waiting for the rice to finish.
My Rice Always Comes Out Mushy, What Am I Doing Wrong?
Usually, this means too much liquid or overcooking. Stick to the ratios exactly, and don’t lift the foil during the first 45 minutes. Every time you peek, you’re releasing steam that the rice needs to cook properly. Also, make sure you’re using long grain rice, it holds its shape better than short grain varieties.
How Do I Know When the Casserole Is Done?
The chicken should register 165°F on an instant read thermometer, the rice should be tender when you taste it, and most of the liquid should be absorbed. The top should be golden brown and the edges should be bubbling slightly. If the rice is still crunchy, cover it back up and give it another 10-15 minutes.

Swiftly Captions by Tina Smith — Quick, flavorful food recipes made simple, bringing fresh inspiration to your kitchen every day