Panda Express Teriyaki Chicken wasn’t on the meal plan, but sometimes the best things aren’t. There I was, standing in a dimly lit kitchen with nothing fancy on hand and a craving I couldn’t shake. Not for something trendy or complicated, but for that glossy, sweet, and savory bite I used to grab between errands at the mall. I knew I’d have to make it from scratch, but I wanted that takeout-style flavor without the takeout. The kind of meal that wraps around you like an old song.
I didn’t need takeout. I needed the comfort of recreating it. Fast in spirit, familiar in flavor, and dripping with that bold teriyaki glaze. You know the kind, sticky on the rice, slightly charred on the edges, and rich enough to make you pause mid-bite. It’s the flavor that turns a quiet Tuesday night into something you’ll actually remember.
So I got to work. No delivery app, no frozen shortcuts. Just soy sauce, brown sugar, fresh garlic, and a splash of mirin bubbling into a thick, sticky glaze while the chicken sizzled on a hot skillet. The smell hit first, rich and garlicky, sweet with a hint of smoke. I didn’t expect it to taste exactly like the original. But it did, actually, better.
Why This Panda Express Teriyaki Chicken Recipe Changes Everything
Let’s be honest most teriyaki recipes out there are either too complicated or just plain wrong. They’ll have you marinating chicken for hours, using weird ingredients you can’t pronounce, or creating some sauce that tastes nothing like what you’re actually craving.
But here’s what makes this different. This recipe captures that exact balance of sweet and salty that makes Panda Express teriyaki so addictive. It’s not just chicken with sauce dumped on top it’s about understanding how that glaze caramelizes, how the chicken stays tender while getting that perfect exterior, and why the sauce needs to reduce just so.
The magic happens in the technique. Most people think teriyaki is just soy sauce and sugar, but there’s so much more going on. The way you cut the chicken, the temperature you cook at, even the order you add ingredients every detail matters.
The Real Secret Behind Perfect Teriyaki
Here’s something most recipes won’t tell you: authentic teriyaki isn’t about the marinade, it’s about the glaze. The word “teriyaki” literally means “glazed and grilled” in Japanese. That glossy, sticky coating that makes your mouth water? That’s not from soaking chicken overnight that’s from building layers of flavor right in the pan.
The technique is pure chemistry. When you cook the sauce with the chicken, the sugars caramelize, the proteins break down just enough to tenderize, and everything melds together into something greater than the sum of its parts. It’s like watching culinary magic happen right before your eyes.
Essential Ingredients for Authentic Recipe
Let’s talk ingredients, and I’m gonna be real with you this isn’t the time to get fancy. Sometimes the best dishes come from the simplest components, and teriyaki chicken is proof of that.
For the Chicken:
- 2 lbs boneless, skinless chicken thighs (trust me on this one)
- 2 tablespoons cornstarch
- 1 tablespoon vegetable oil
- Salt and pepper to taste
For the Teriyaki Glaze:
- 1/2 cup soy sauce (low sodium works great)
- 1/4 cup brown sugar
- 2 tablespoons honey
- 2 tablespoons rice vinegar
- 1 tablespoon fresh ginger, minced
- 3 cloves garlic, minced
- 1 tablespoon cornstarch mixed with 2 tablespoons water
- 1 teaspoon sesame oil
Now, about those chicken thighs, I know, I know. Everyone’s always pushing boneless chicken breasts because they’re “healthier.” But listen, if you want that juicy, tender texture that makes Panda Express chicken so good, thighs are your best friend. They’ve got more fat, which means more flavor and they won’t dry out on you.
Smart Ingredient Swaps That Actually Work
Can’t find chicken thighs? Okay, fine, you can use breasts, but cut them into smaller pieces and don’t overcook them. Seriously, the moment they hit 165°F, get them out of there.
No rice vinegar? Apple cider vinegar works, but use a tiny bit less, it’s got more bite to it. Some people swear by mirin instead, and honestly, if you’ve got it lying around, go for it.
Don’t have fresh ginger? The bottled stuff in a pinch, but fresh really does make a difference here. It’s got that sharp, clean heat that the dried stuff just can’t match.
Brown sugar running low? You can sub in white sugar, but add just a touch of molasses if you’ve got it. That deep, caramel like flavor is what makes the glaze so rich.
The Step by Step Magic of Panda Express Style Chicken
Alright, time to get our hands dirty. This is where the real technique comes in, and I’m gonna walk you through every step like I’m standing right there with you.
Step 1: Prep Your Chicken Right
Cut those thighs into bite sized pieces, about 1-inch chunks. Don’t go crazy with the knife work; we’re not making sashimi here. Pat them dry with paper towels (this is crucial for getting that nice sear), then toss with cornstarch, salt, and pepper.
The cornstarch isn’t just for thickening, it’s gonna give you that slightly crispy exterior that makes each bite so satisfying. It’s like a little insurance policy against soggy chicken.
Step 2: Get That Perfect Sear
Heat your oil in a large skillet over medium high heat. You want it hot enough that the chicken sizzles when it hits the pan, but not so hot that everything burns before it cooks through.
Add the chicken in a single layer, don’t crowd it! If you’ve got too much chicken for your pan, cook it in batches. Crowded chicken steams instead of sears, and steamed chicken is sad chicken.
Let it cook undisturbed for about 4-5 minutes until the bottom gets golden brown. Then flip and cook another 3-4 minutes. We’re not cooking it all the way through yet, that’s gonna happen with the sauce.
Step 3: Build That Glaze
This is where the magic happens. In a small bowl, whisk together your soy sauce, brown sugar, honey, rice vinegar, ginger, and garlic. Don’t skip the whisking, you want that brown sugar completely dissolved.
Pour this mixture right over the chicken in the pan. It’s gonna bubble up like crazy, and that’s exactly what we want. The sauce needs to reduce and concentrate, which is how we get that glossy, sticky coating.
Step 4: Let Chemistry Do Its Thing
Turn the heat down to medium and let everything simmer together. This is where patience pays off. The sauce needs about 8-10 minutes to reduce and thicken, and the chicken needs time to absorb all those flavors.
Stir occasionally, but don’t go crazy with it. You want the sauce to have time to caramelize on the bottom of the pan a little bit, that’s where tons of flavor comes from.
Step 5: The Final Touch
When the sauce looks glossy and coats the chicken nicely, stir in that cornstarch slurry. This is what gives you that perfect, restaurant style consistency. Add the sesame oil right at the end, it’s delicate and will lose its flavor if you cook it too long.
The Science Behind That Perfect Glaze
Want to know why this works so well? It’s all about the Maillard reaction, that beautiful browning that happens when proteins and sugars get cozy under heat. When you sear the chicken first, you’re creating hundreds of flavor compounds that wouldn’t exist otherwise.
Then, when you add the sauce, those sugars start caramelizing. The honey and brown sugar don’t just add sweetness, they create that beautiful mahogany color and deep, complex flavor that makes teriyaki so addictive.
The cornstarch serves double duty. It helps the chicken brown better and creates that silky sauce texture that clings to every piece. Without it, the sauce would just slide right off, and nobody wants naked chicken.
Why This Method Beats Marinating Every Time
Here’s something most people don’t realize: marinating chicken for hours doesn’t actually make it more flavorful. Marinades barely penetrate past the surface, and all that acid can actually make the texture mushy.
But when you build the glaze right in the pan, every single piece gets coated evenly. The flavors don’t just sit on top. They get cooked into the chicken, creating layers of taste that hit you with every bite.
Making It Restaurant Beautiful
Presentation matters, even when you’re eating at home. A few simple tricks can make your teriyaki chicken look like it came from a high end Japanese restaurant instead of your Tuesday night kitchen.
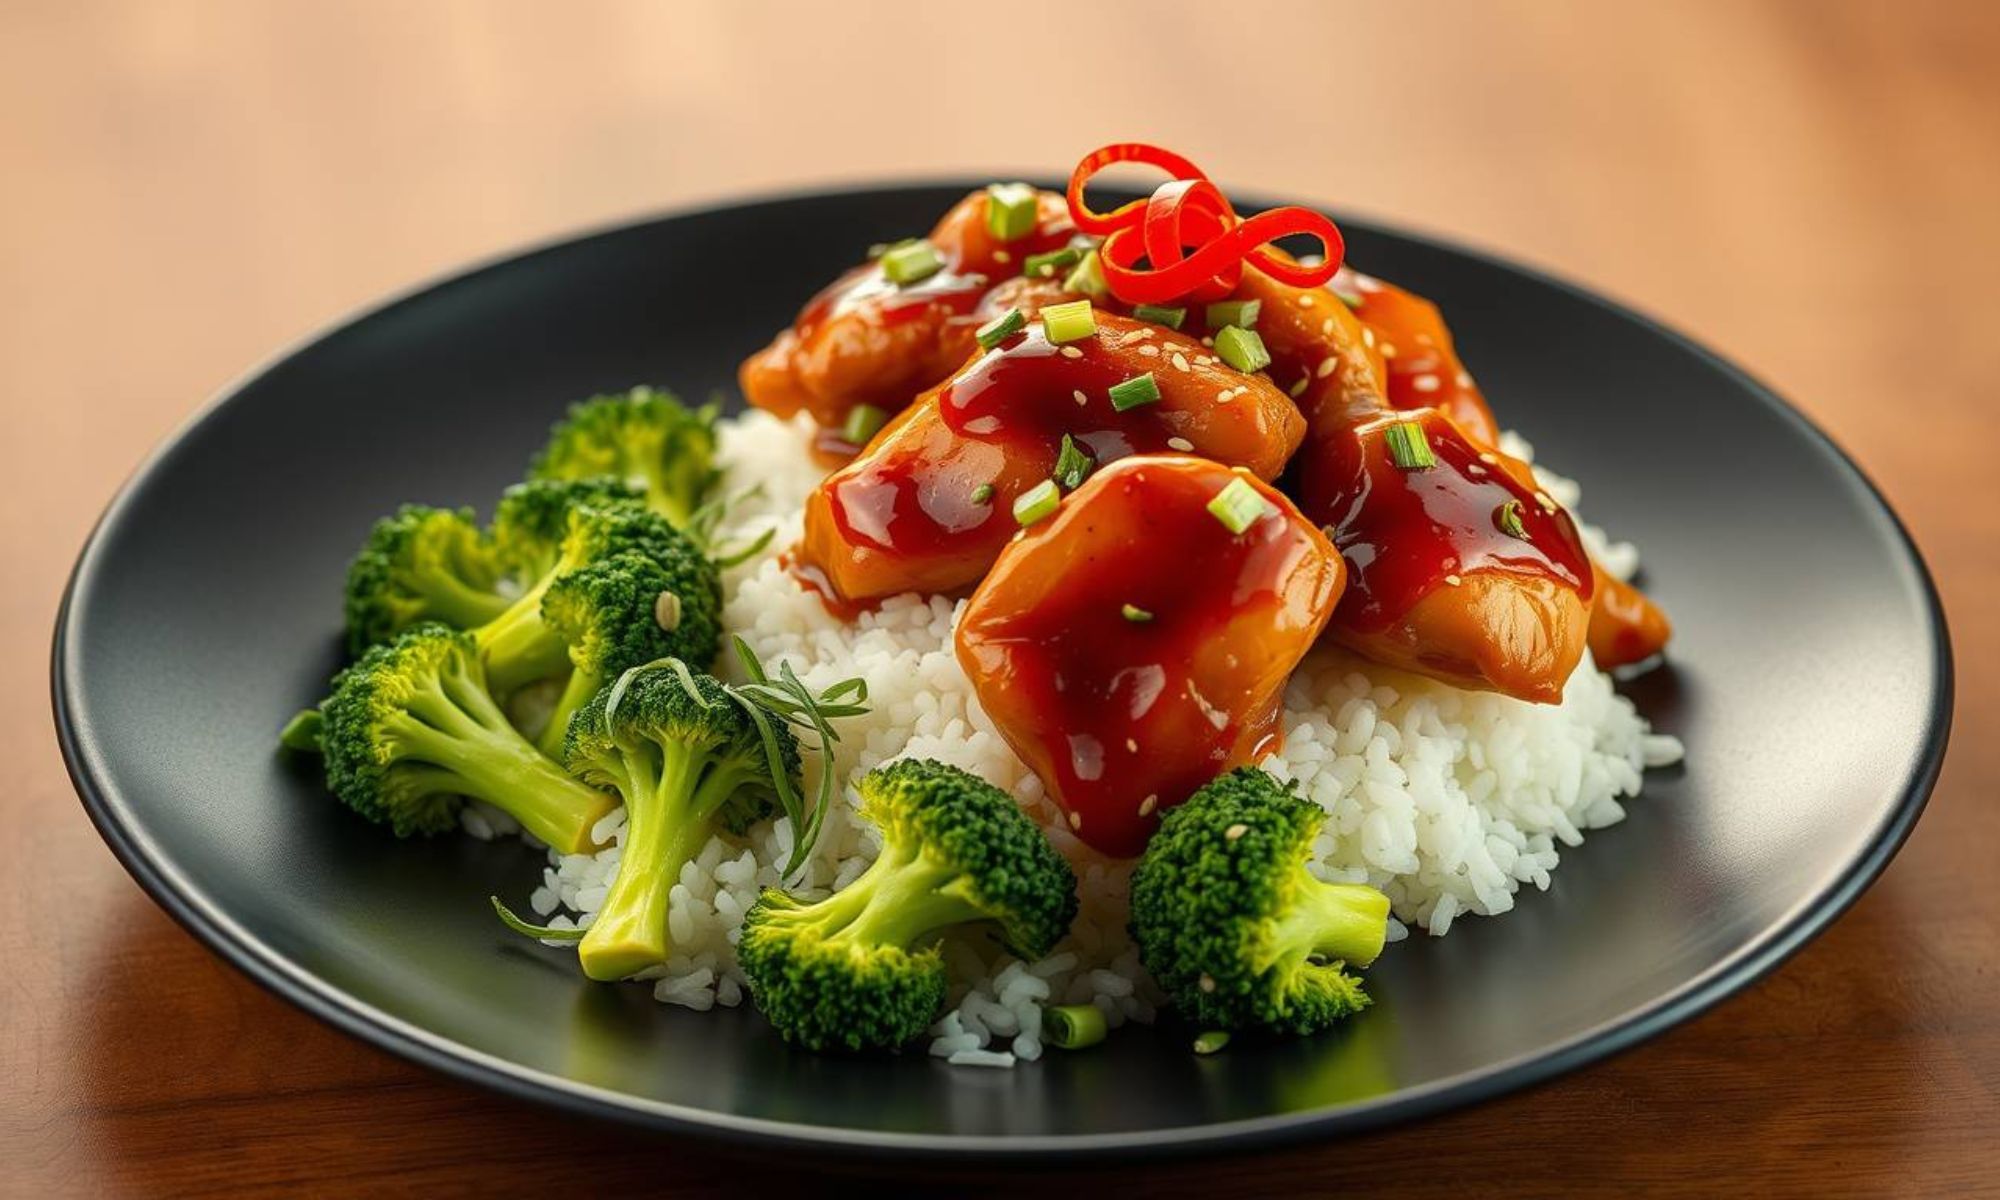
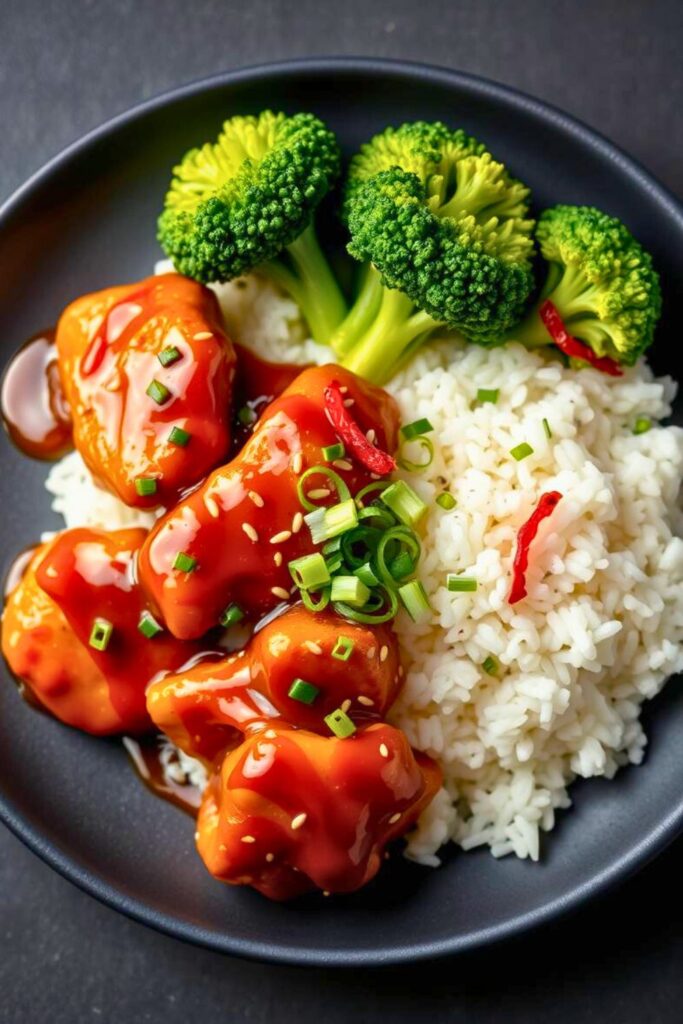
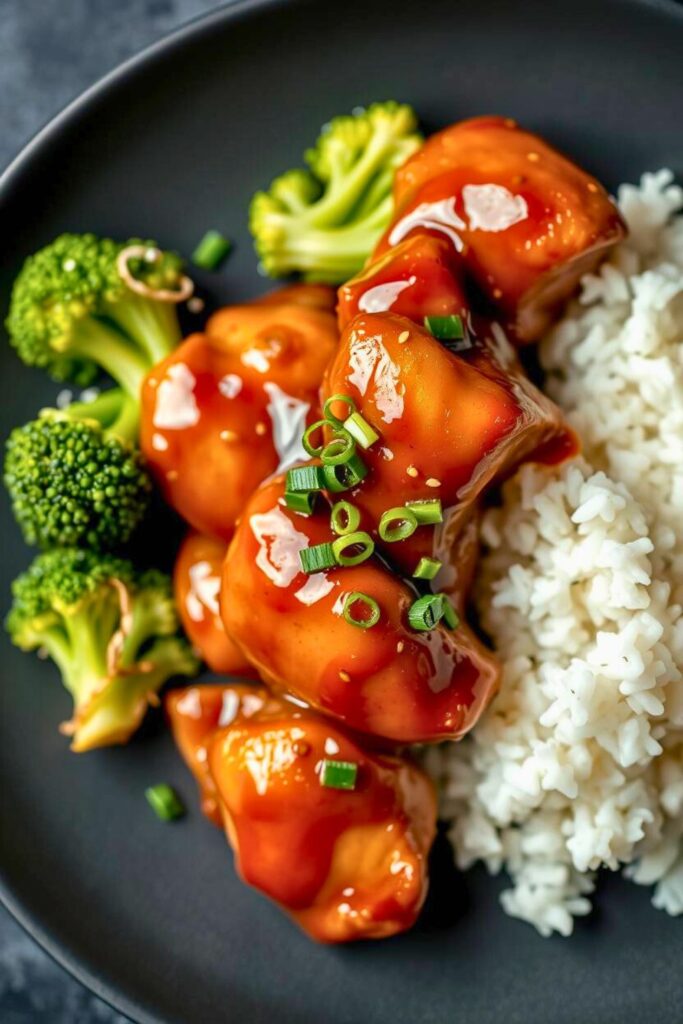
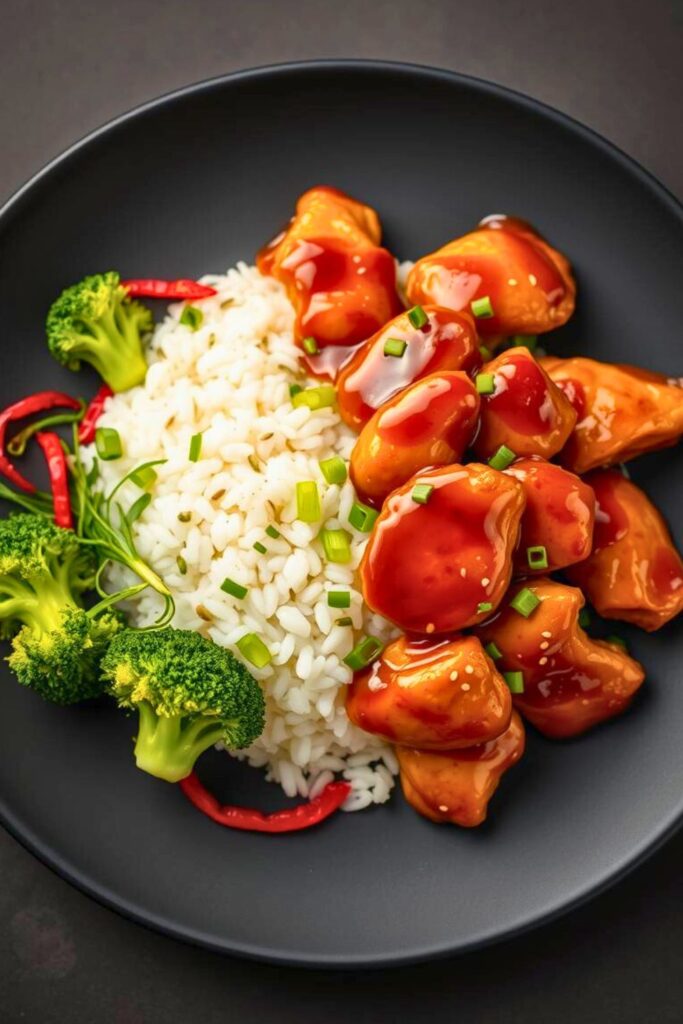
First, don’t just dump everything on a plate. Use tongs to arrange the chicken pieces so they’re not all piled on top of each other. You want people to see that beautiful glaze on each piece.
Sprinkle some sesame seeds on top. They add a nice crunch and make everything look more professional. A few thin slices of green onion scattered over the top add color and a little fresh bite that cuts through the richness.
If you really want to go all out, serve it over steamed rice with some steamed broccoli on the side. The clean, neutral flavors let the teriyaki shine while making it feel like a complete meal.
Perfect Pairings That Complete the Experience
This teriyaki chicken is amazing on its own, but the right sides can turn it into something special. Steamed jasmine rice is classic for a reason. It soaks up that extra sauce and provides a neutral base that lets the chicken be the star.
For vegetables, keep it simple. Steamed broccoli, snap peas, or even some sautéed bok choy work perfectly. You want something that’ll add freshness without competing with the teriyaki flavors.
If you’re feeling fancy, try it over some coconut rice or even cauliflower rice for a lighter option. The slight sweetness of coconut rice actually complements the teriyaki beautifully.
Troubleshooting When Things Go Wrong
Let’s be real, sometimes things don’t go according to plan. Here are the most common problems and how to fix them:
Sauce Too Thin: Don’t panic. Mix another teaspoon of cornstarch with two teaspoons of cold water and stir it in. Let it simmer for another minute or two until it thickens up.
Sauce Too Thick: Add a tablespoon of water or chicken broth and stir it in. The sauce should coat the chicken but not be gloppy.
Chicken Overcooked: Next time, use a meat thermometer. Chicken thighs are done at 165°F, and they’ll continue cooking a bit in the hot sauce.
Not Sweet Enough: Add honey, one teaspoon at a time, until it tastes right to you. Remember, you can always add more sweetness, but you can’t take it away.
The Final Word on Perfect Panda Express Teriyaki Chicken
This isn’t just another recipe, it’s your ticket to never settling for mediocre takeout again. When you master this technique, you’re not just making dinner; you’re creating that perfect balance of sweet and savory that makes Panda Express Style Chicken so universally loved.
The beauty of this recipe is in its simplicity. No weird ingredients, no complicated techniques, just solid cooking fundamentals applied to create something absolutely delicious. It’s the kind of Panda Express Style Chicken recipe that becomes part of your regular rotation because it’s reliable, delicious, and impressive enough for company.
Remember, cooking is about more than just following instructions. It’s about understanding why things work the way they do, and then making them your own. Once you’ve got this base recipe down, feel free to experiment. Add some pineapple for a Hawaiian twist, throw in some chili flakes for heat, or try it with different proteins.
The most important thing? Don’t be afraid to make it your own. This recipe gives you the foundation, but your taste buds are the final judge.
Frequently Asked Questions
Can I use chicken breasts instead of thighs?
Absolutely, but you’ll need to be more careful about overcooking. Chicken breasts dry out faster than thighs, so keep an eye on the internal temperature and pull them off the heat the moment they hit 165°F. Cut them into smaller pieces so they cook evenly and absorb the sauce better.
How long does this keep in the fridge?
Your teriyaki chicken will stay fresh in the refrigerator for up to 4 days in a sealed container. The flavors actually get better after sitting overnight, so don’t hesitate to make extra. Just reheat gently in a skillet with a splash of water to loosen up the sauce.
Can I freeze this for meal prep?
Yes! This freezes beautifully for up to 3 months. Let it cool completely before transferring to freezer bags. When you’re ready to eat, thaw it overnight in the fridge and reheat in a skillet. You might need to add a little water or soy sauce to get the right consistency back.
What if I don’t have sesame oil?
While sesame oil adds that authentic finish, you can skip it in a pinch. The dish will still be delicious. If you want to add some nutty flavor, try sprinkling toasted sesame seeds over the finished dish instead.
Can I make this in a slow cooker?
The slow cooker won’t give you that beautiful caramelization and glaze that makes this recipe special. Stick with the stovetop method for the best results. The active cooking time is only about 20 minutes anyway, so it’s not much more work than setting up a slow cooker.

Swiftly Captions by Tina Smith — Quick, flavorful food recipes made simple, bringing fresh inspiration to your kitchen every day


